Create your Shopify Agent in Voixt
This is step by step guide to integrating Voixt with Shopify before this setup you must have account in Voixt and have Shopify username and access token.
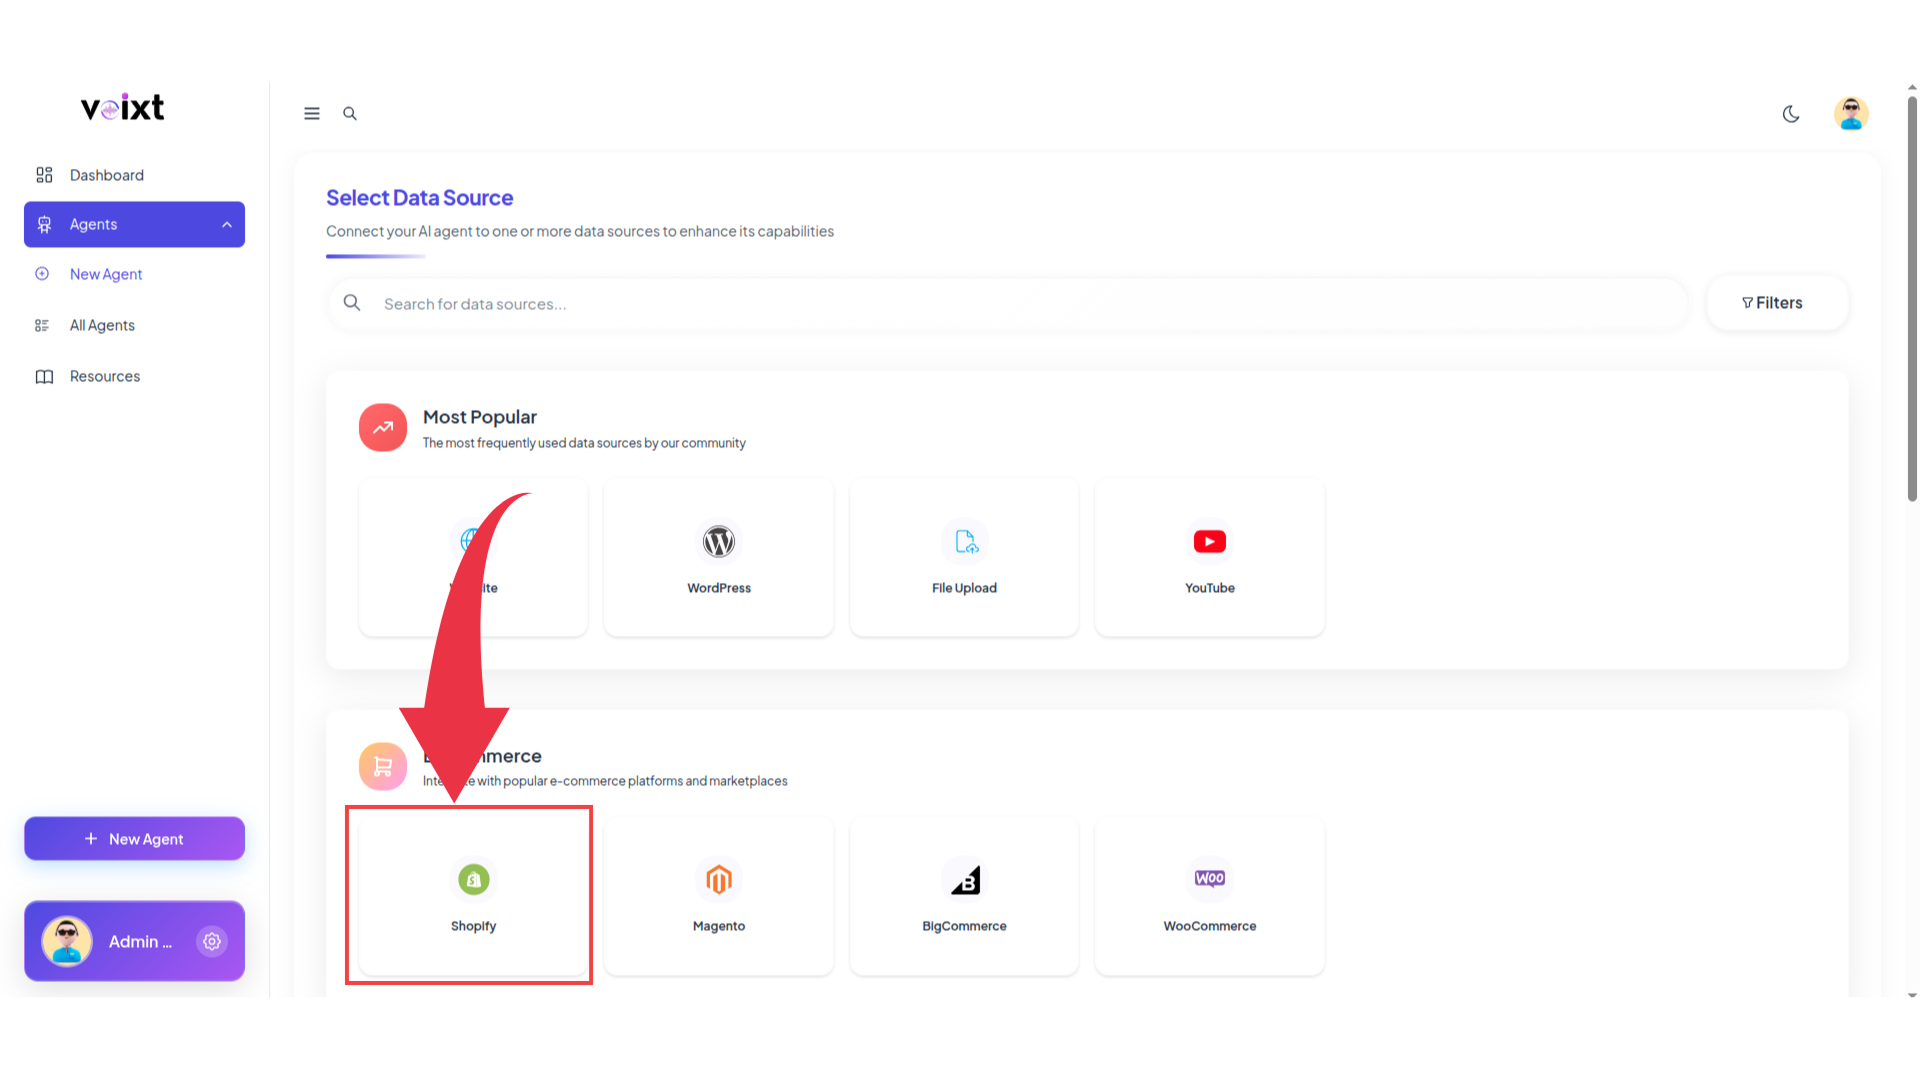
Step 1: When you Click on New Agent from Voixt App It opens below Screen there Click on Shopify to integrate your Shopify Store.
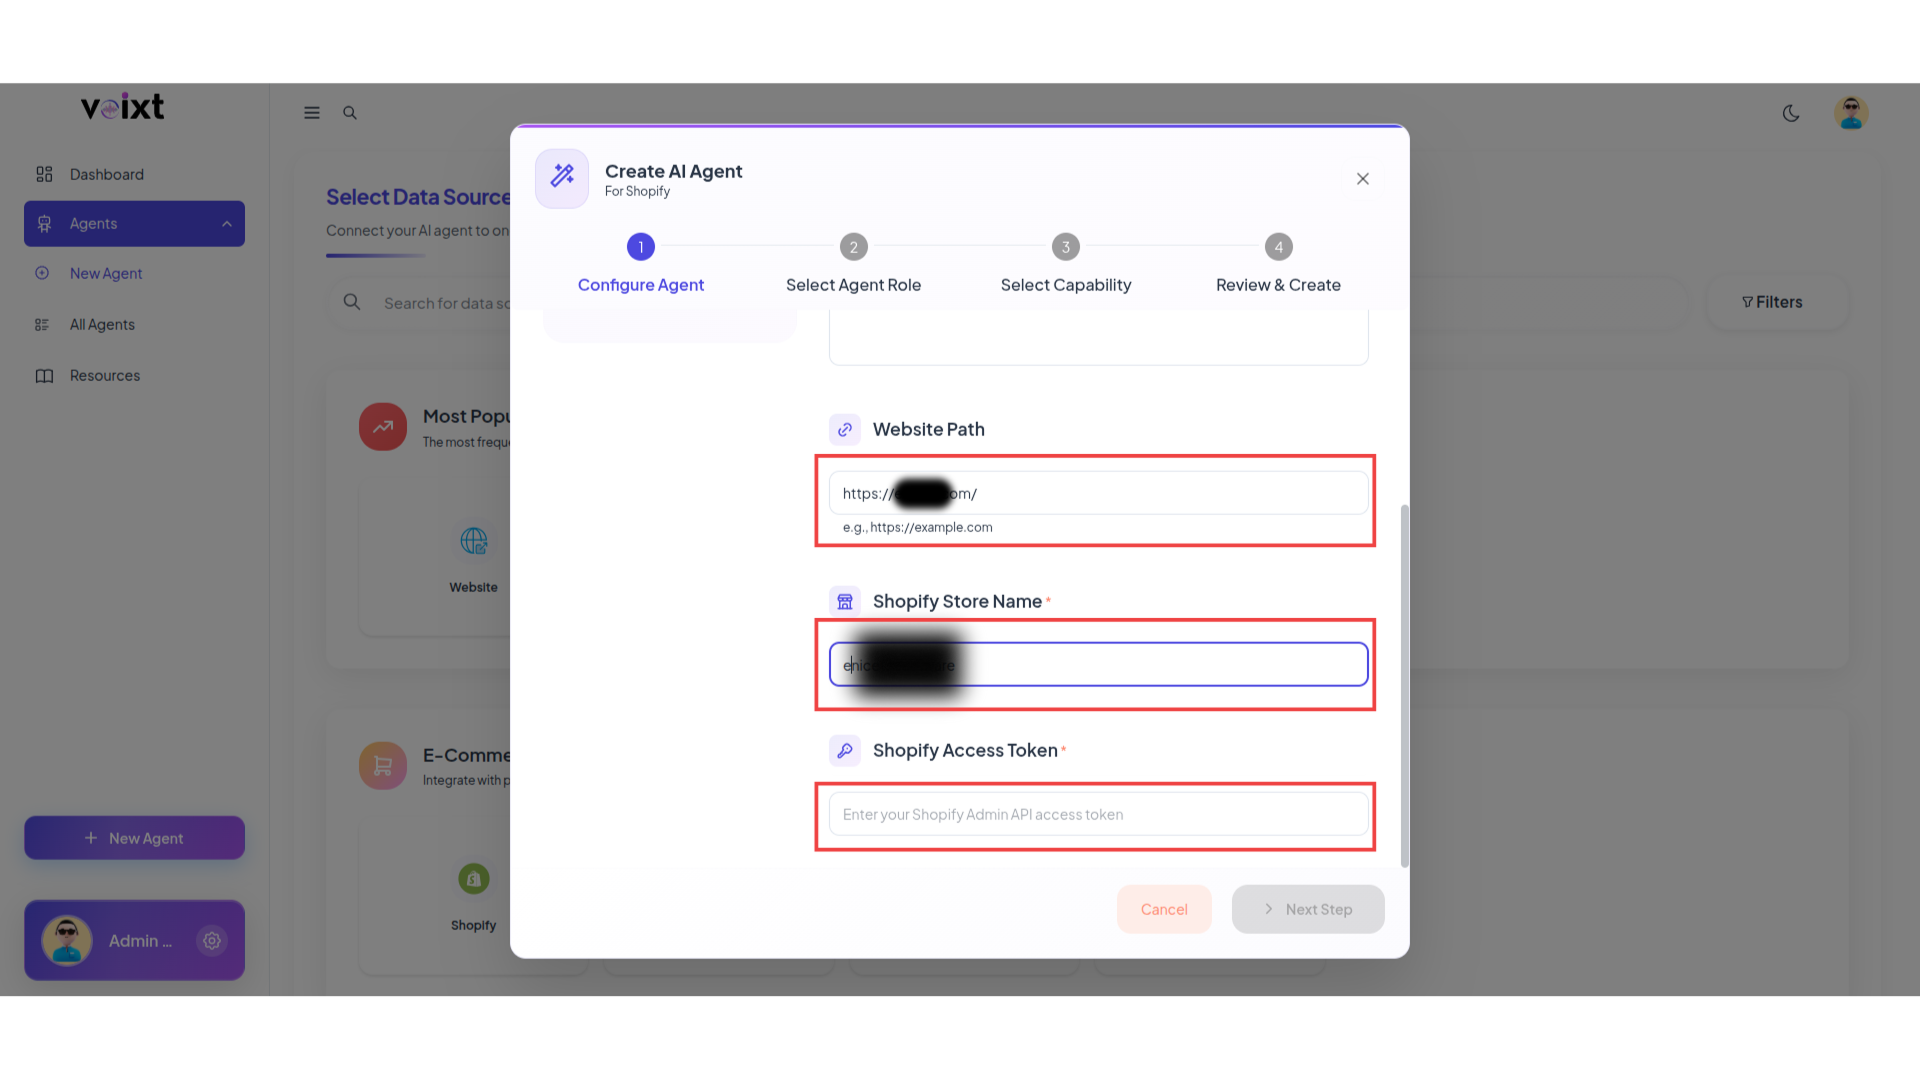
Step 2: Fill all the details as you want to give like agent name, description, your website url, Shopify username and Shopify Access Token paste here and click on next step.
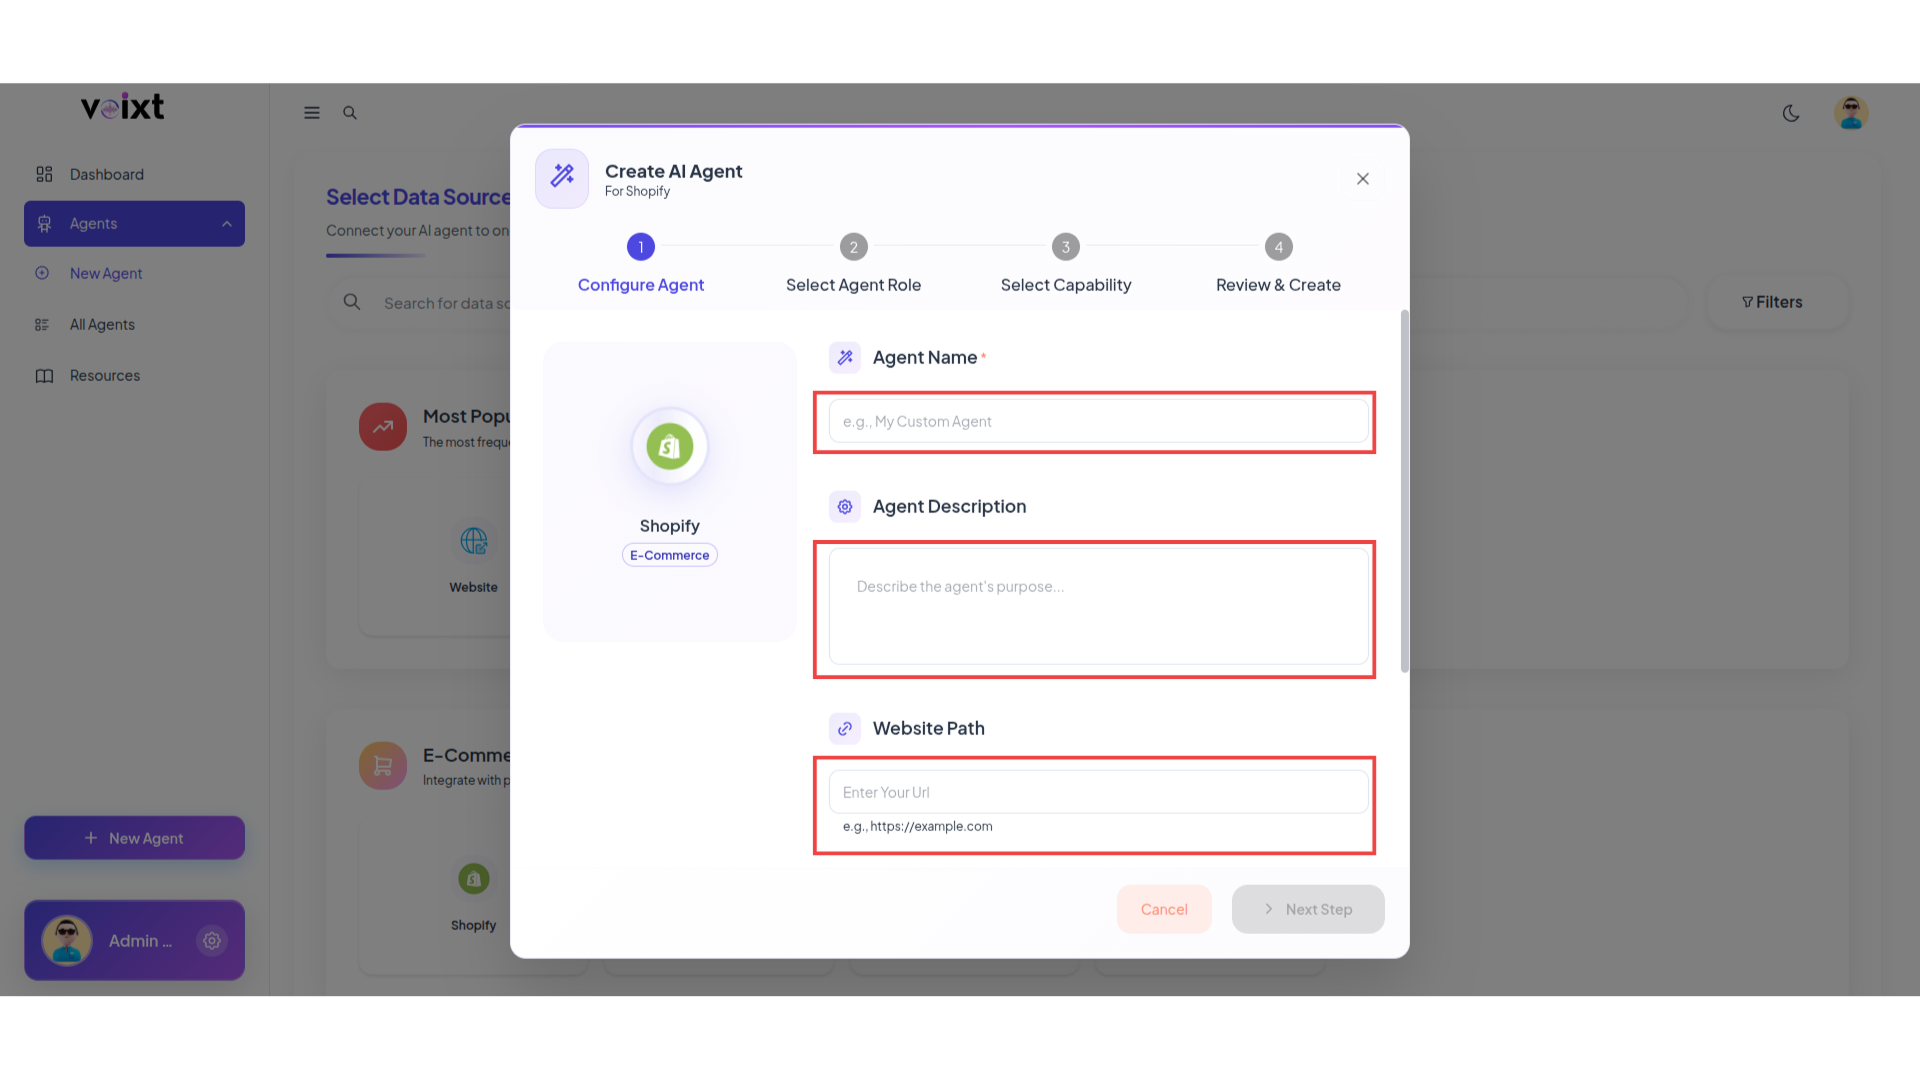
To get the Shopify username and shopify access token first you need to configure in shopify follow this guide shopify configure
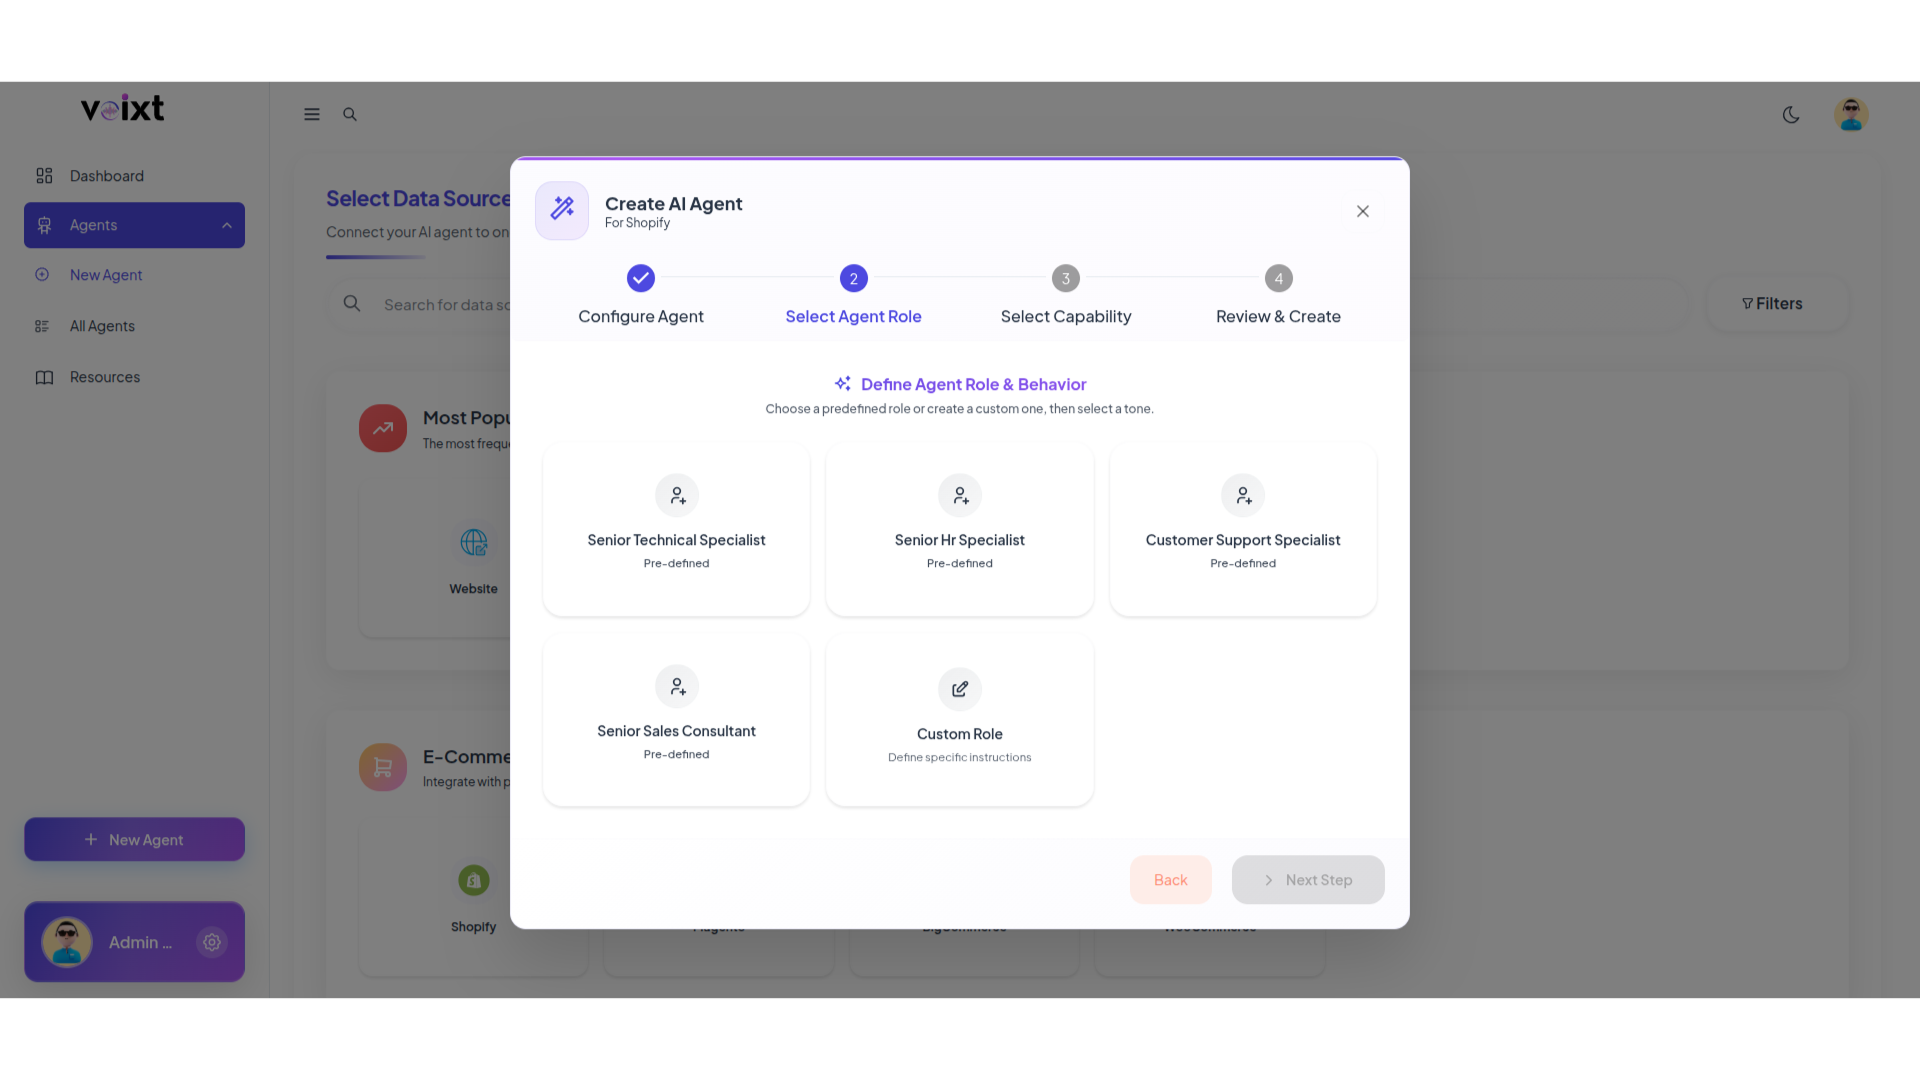
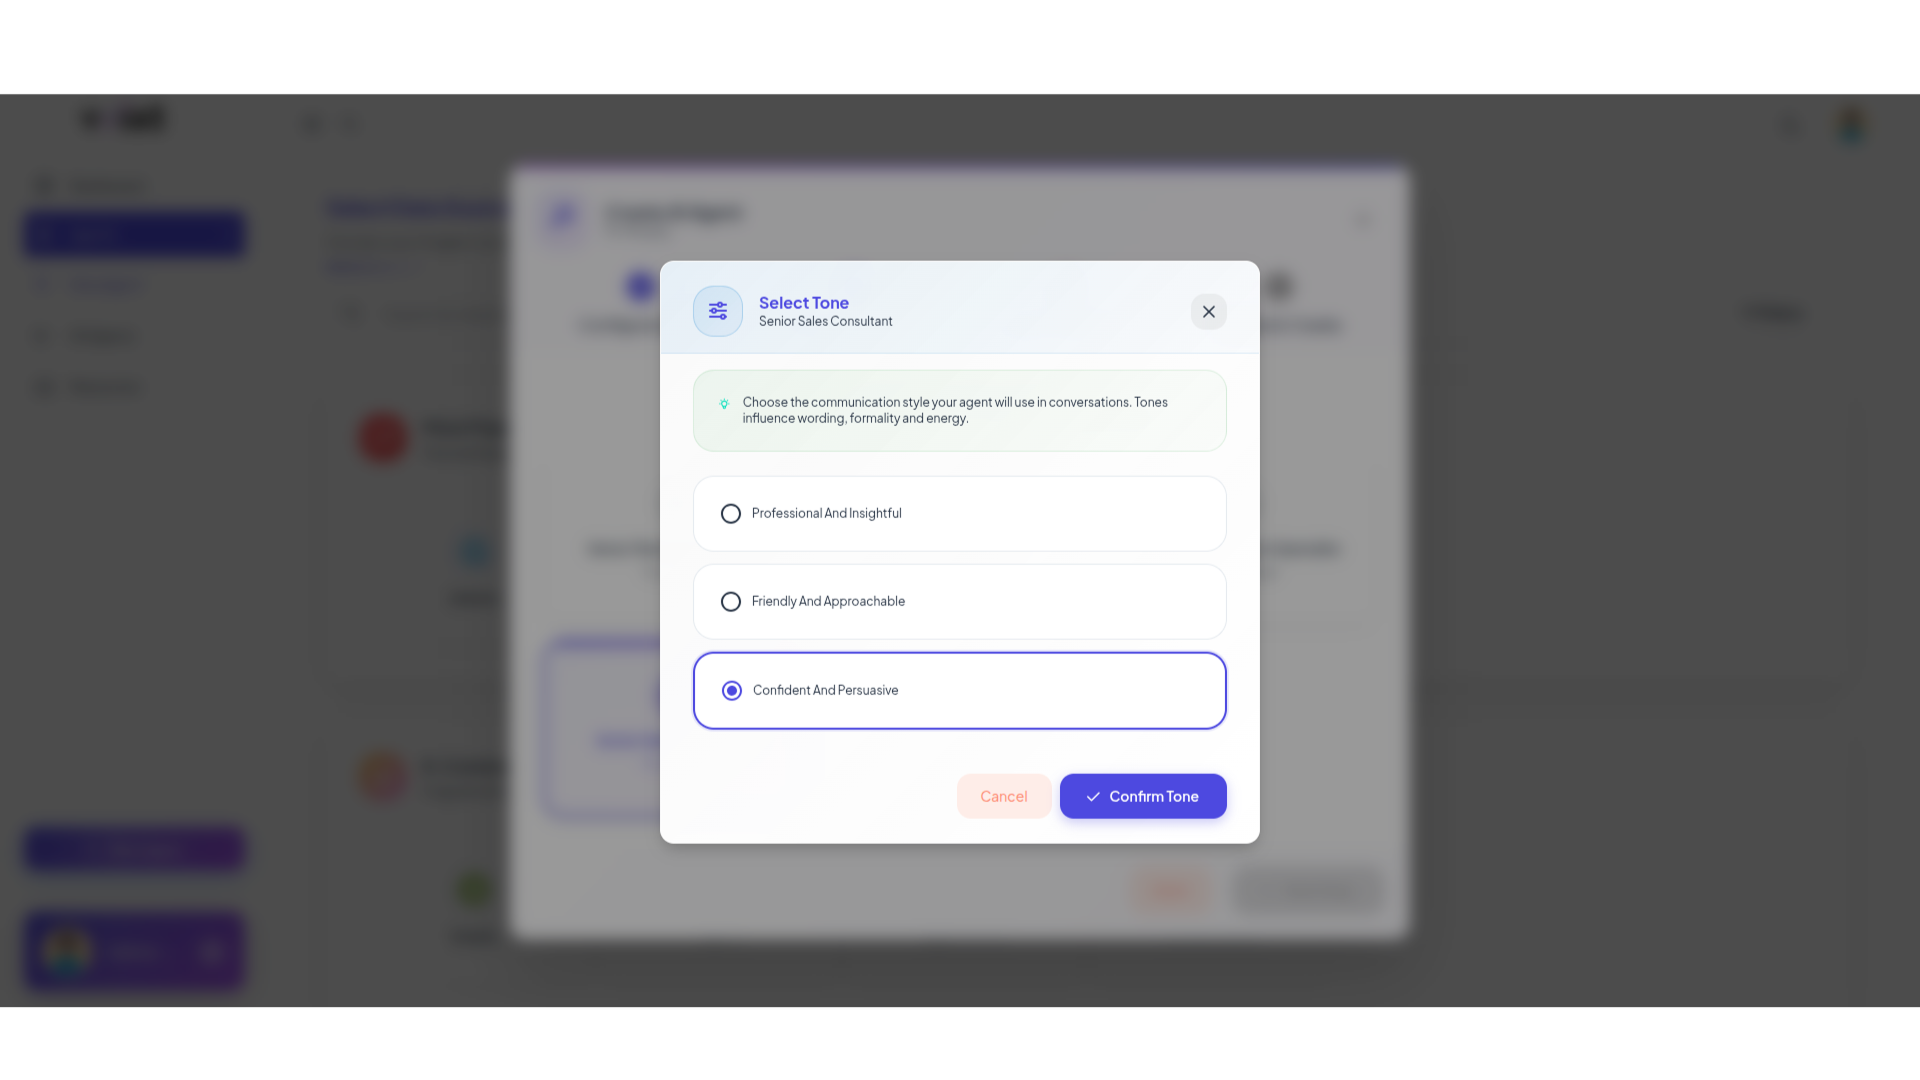
Step 3: Choose Agent behaviour and tone as per your need even you can customize it by clicking on custom role.
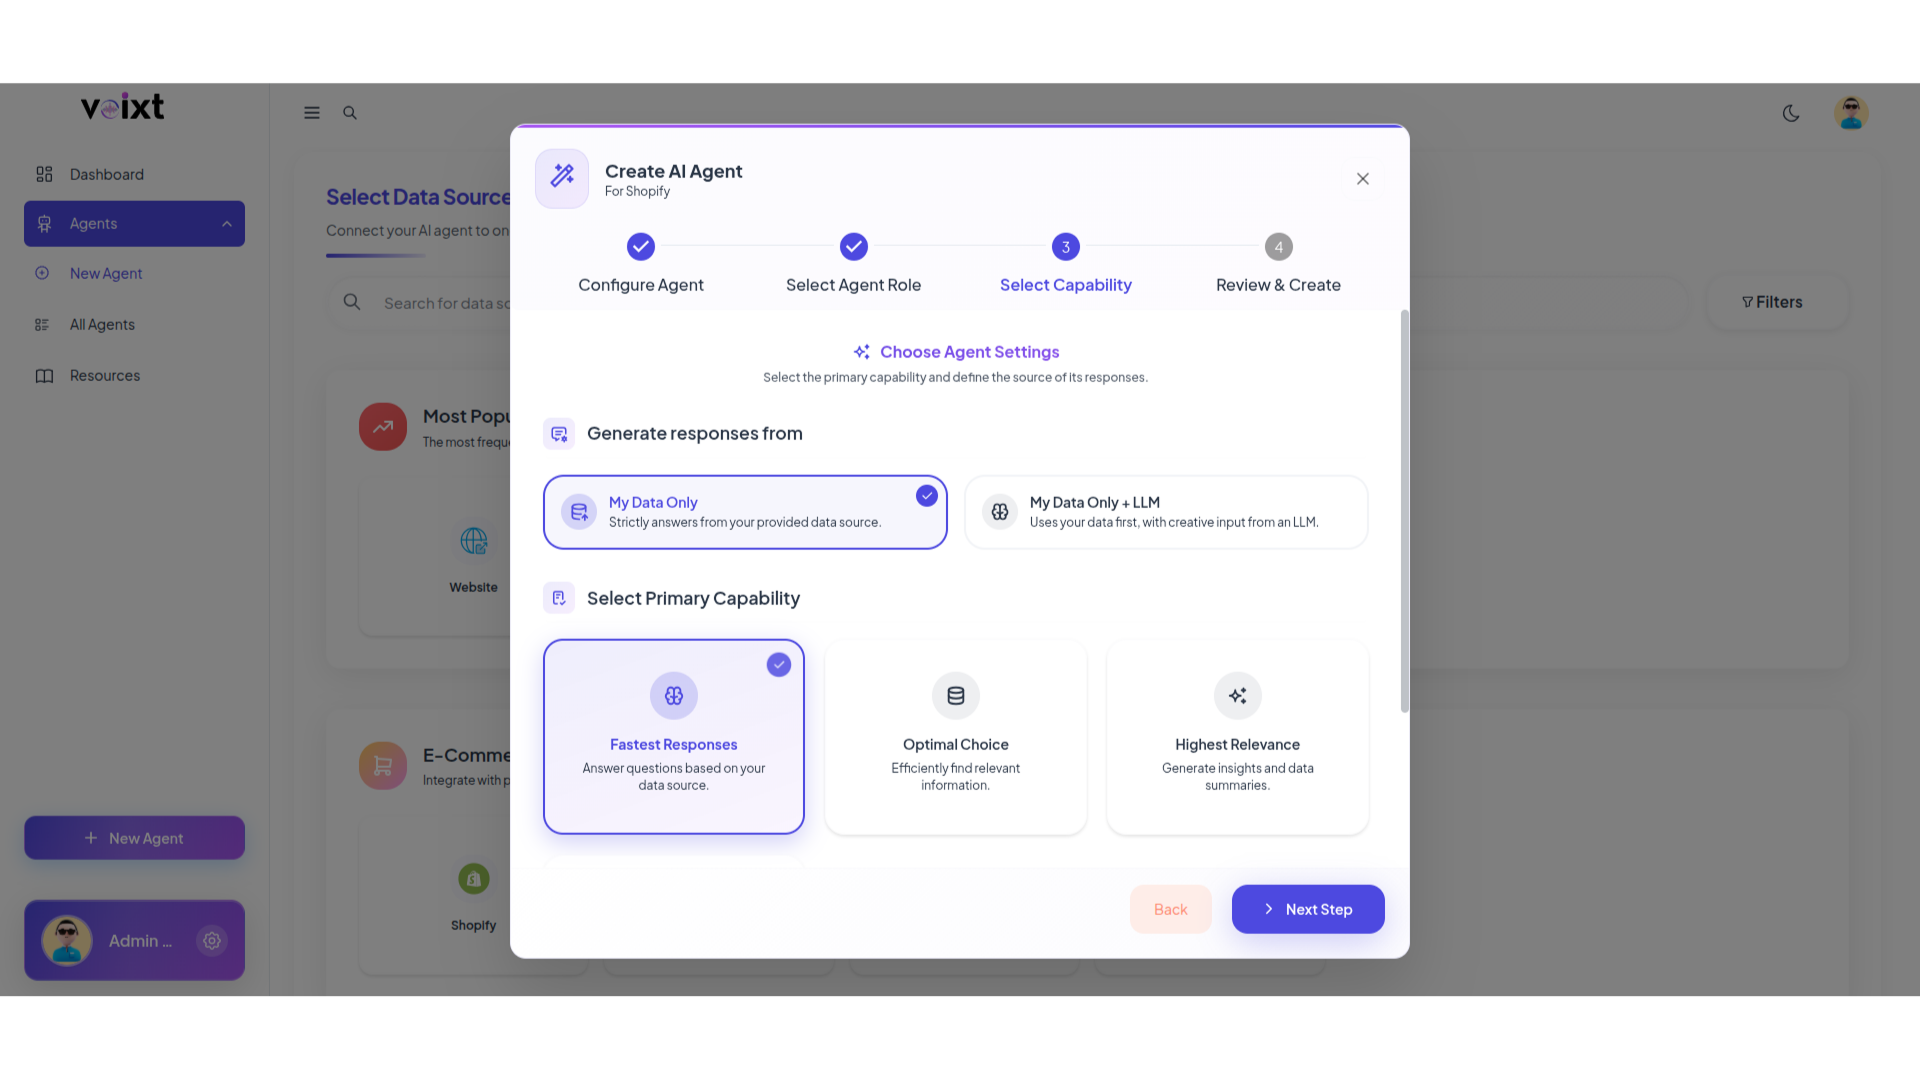
Step 4: Choose primary capability of your agent.
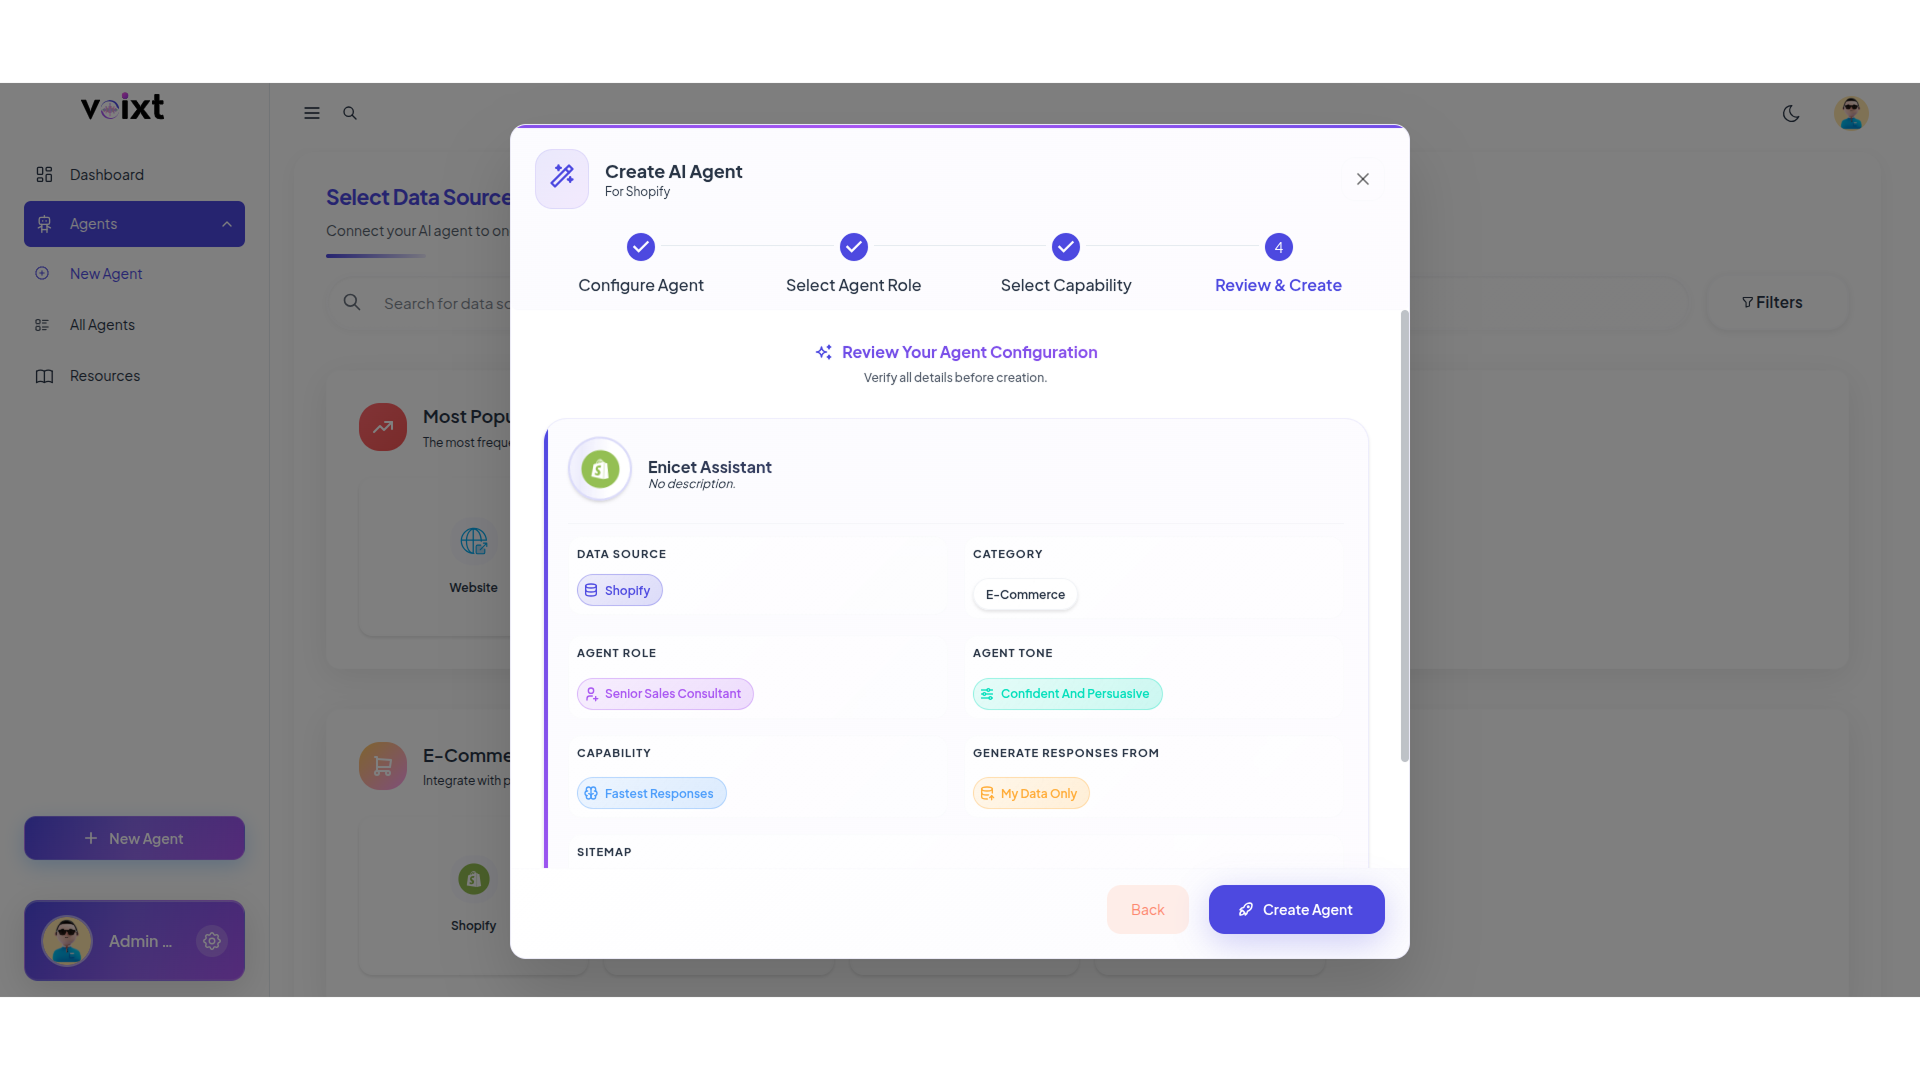
Step 5: Review form and all the details you filled and click on Create Agent.
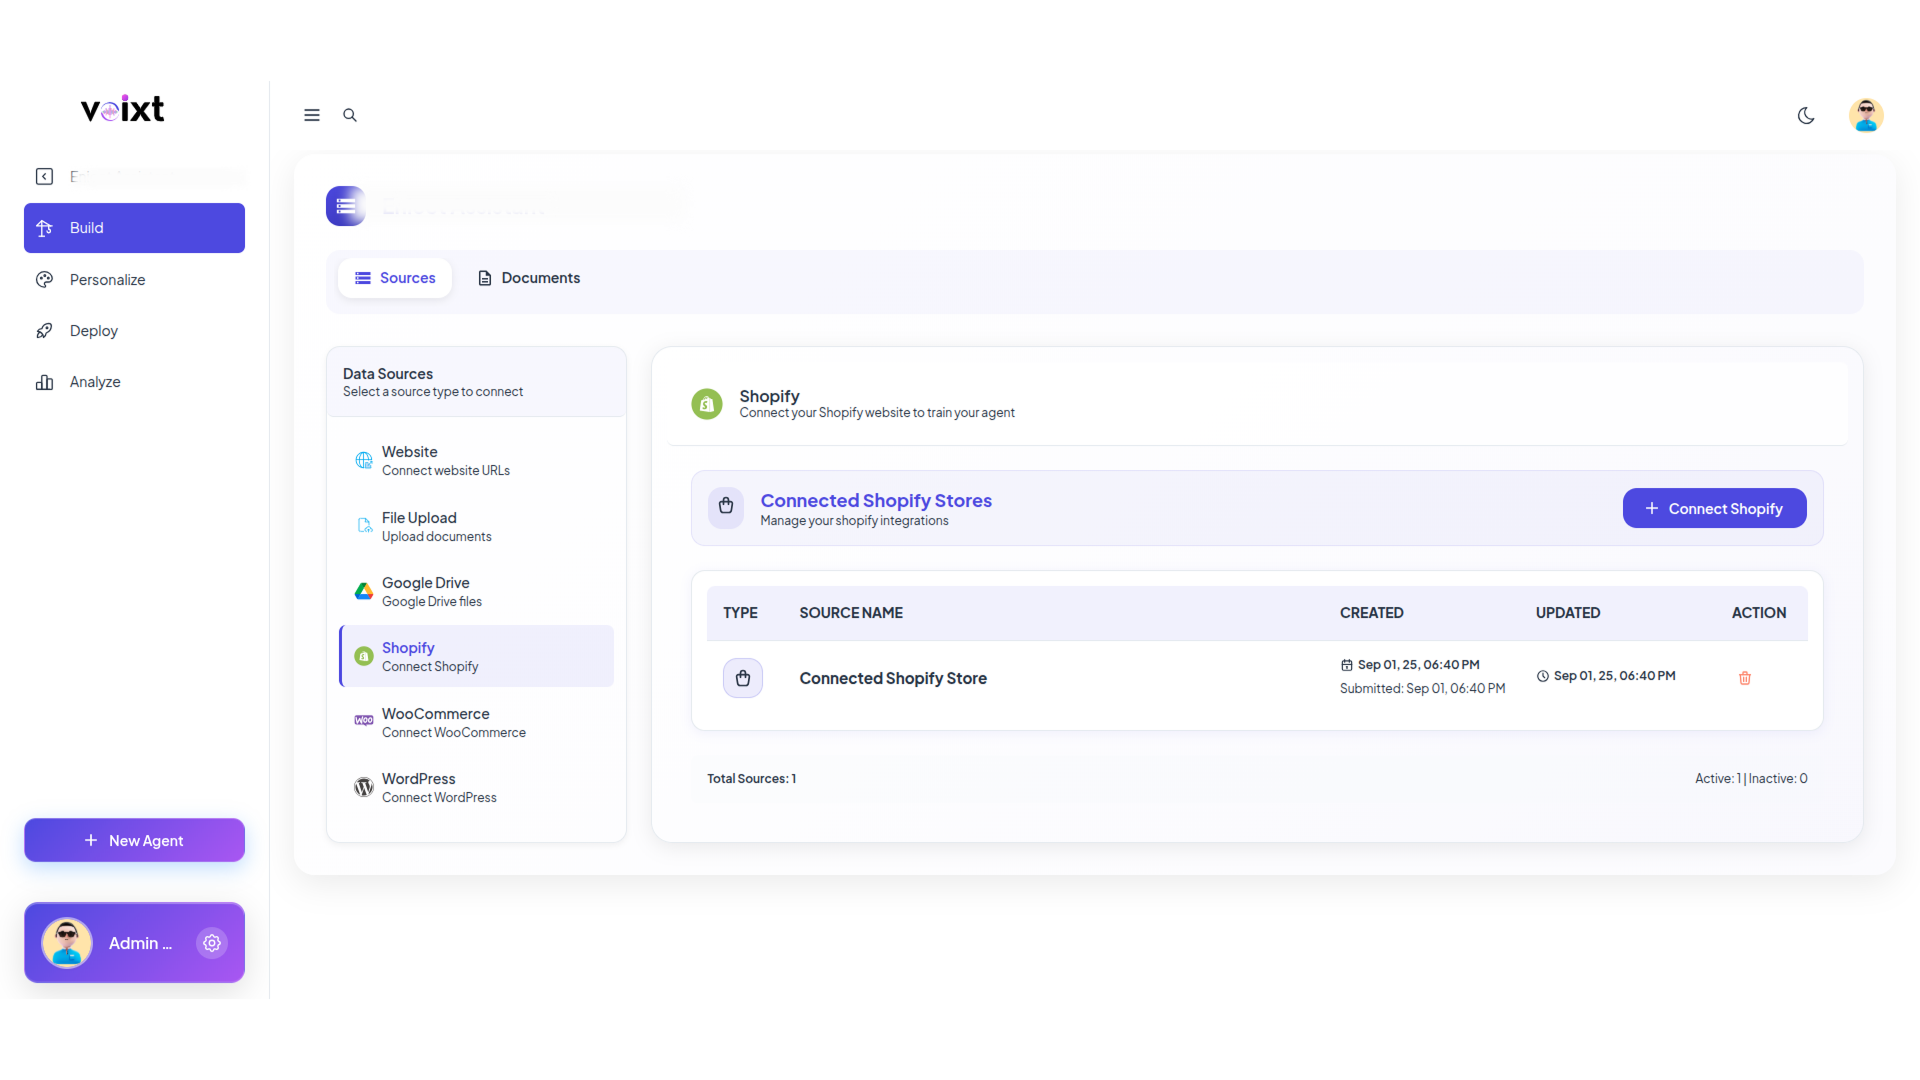
Step 6: Your agent successfully created, and you can validate the connected data source customize, deploy and analyzee as per your requirements.
After completing all steps successfully you can finally access voixt app.