Create Agent from Your Data
Here is step by step guide on how to create agent from the documents you have.
Create New Agent
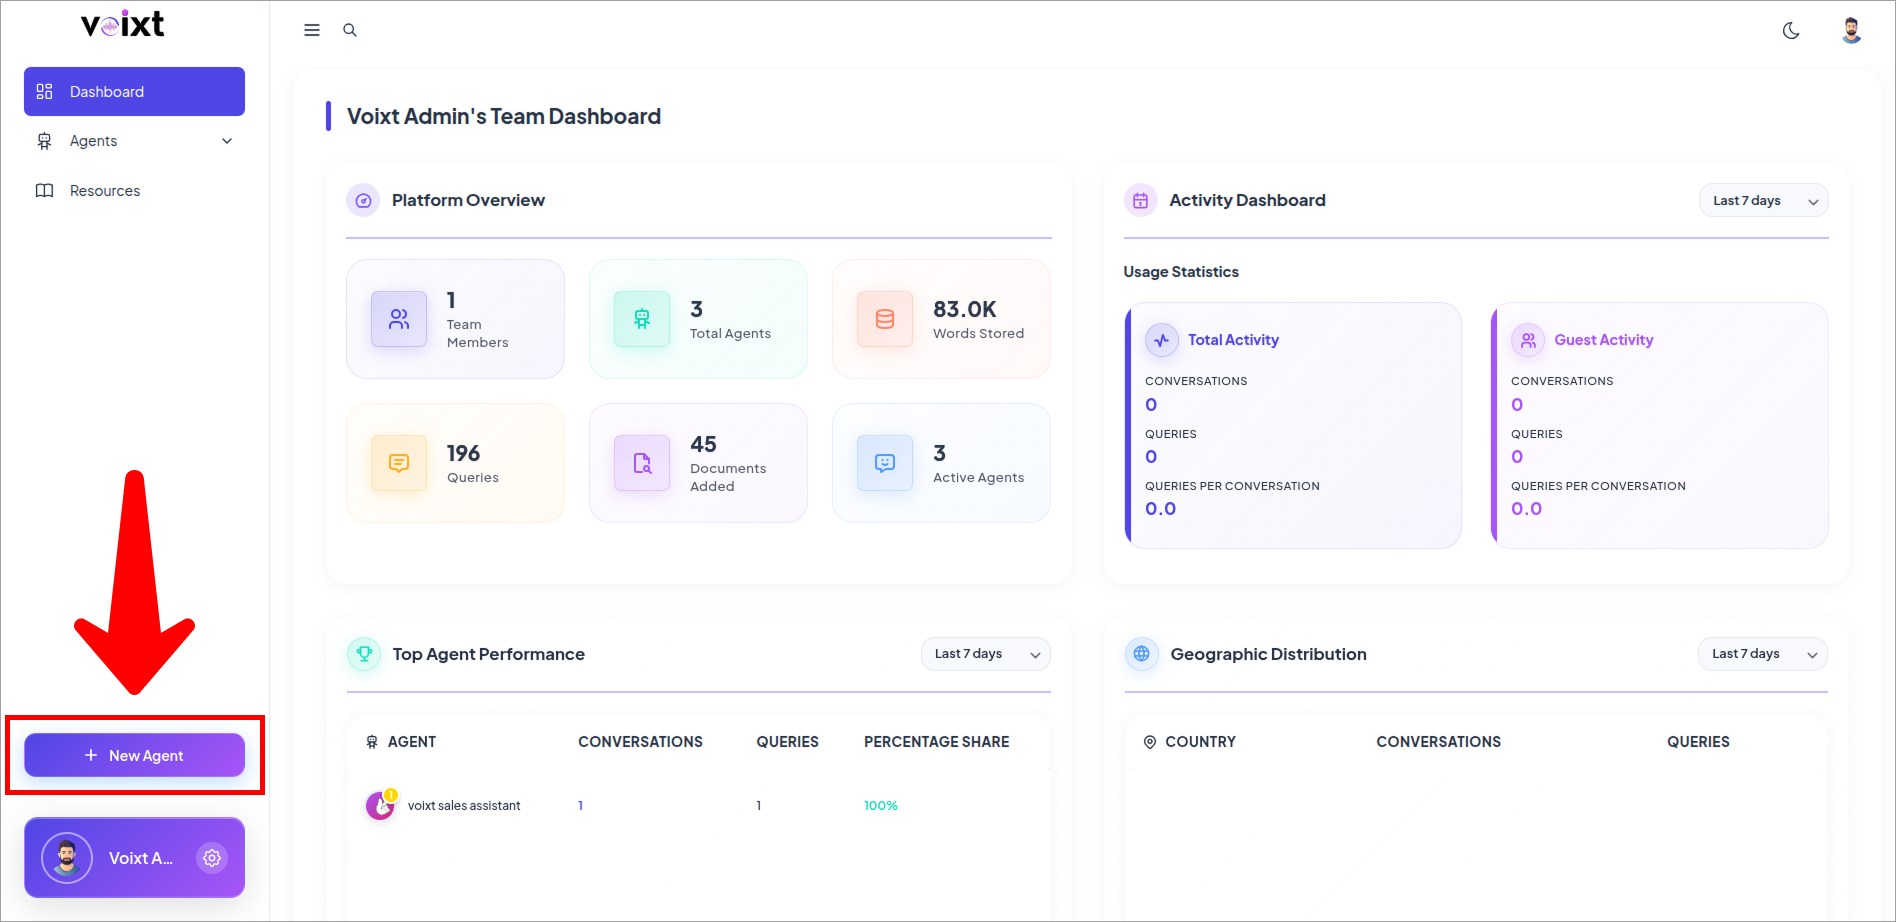
This guide to helps you to find the create agent button
- Go to Voixt Dashboard and click on create new agent.
File Upload Agent
File Upload Agent brief
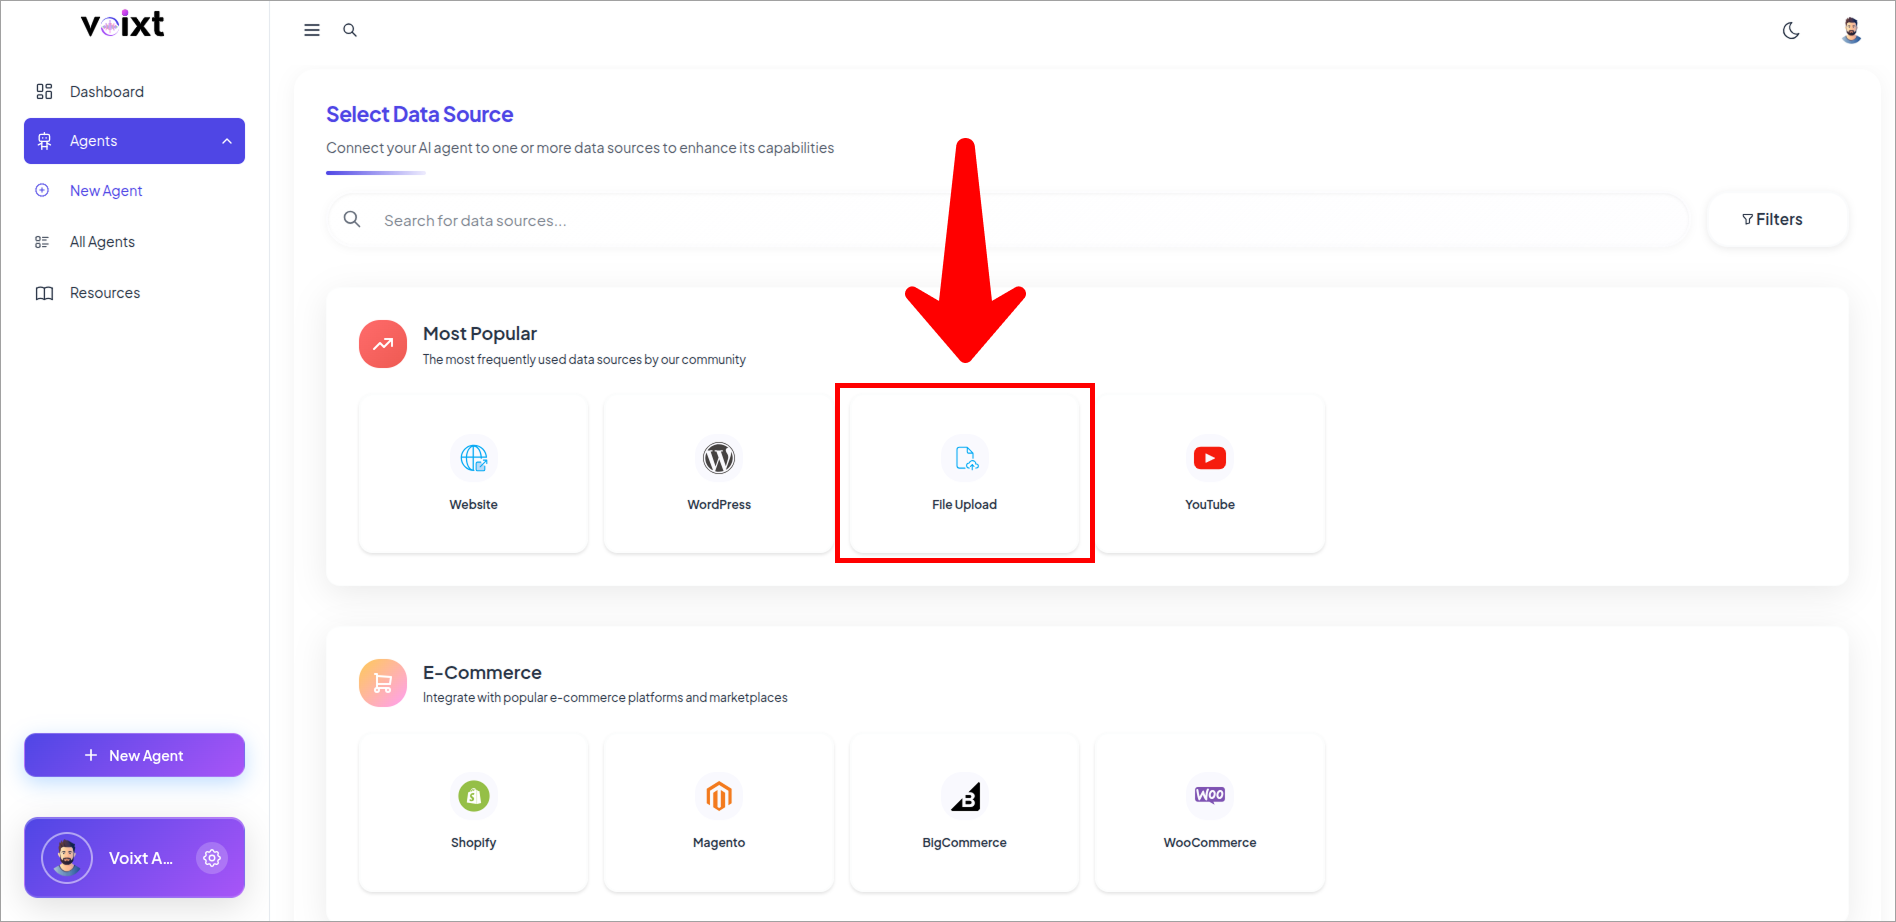
- This is Data Source page, here click on the file upload button.
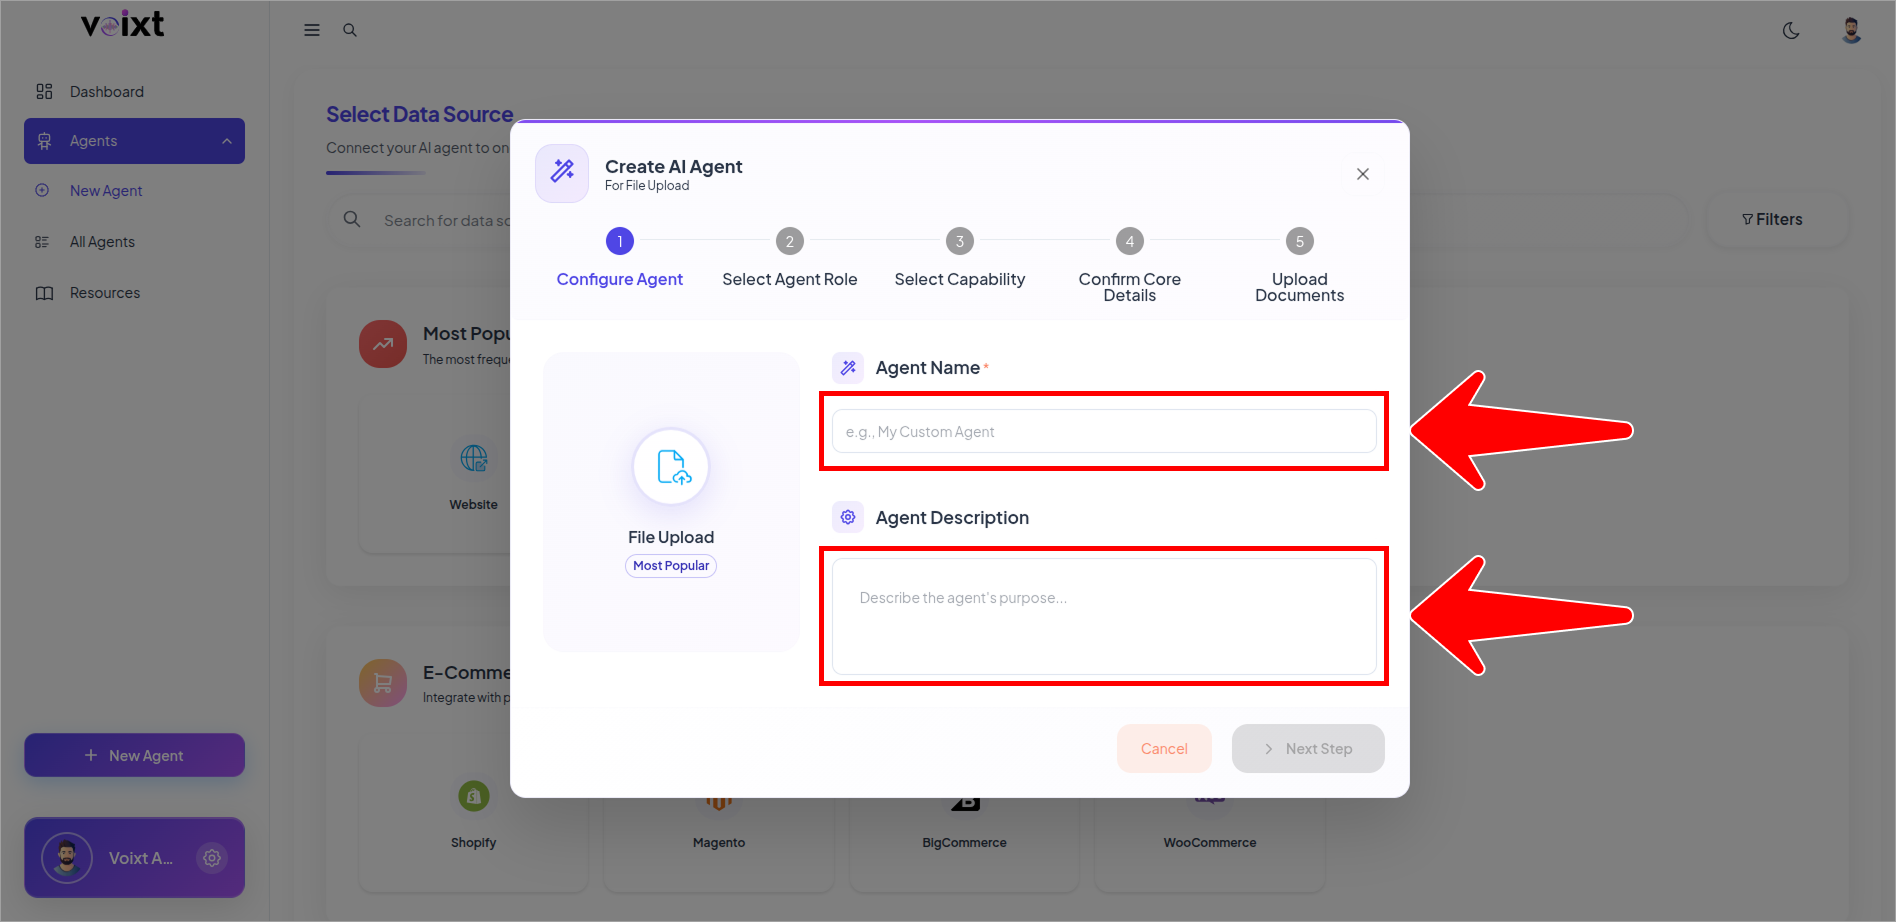
- Fill the Agent Name and Agent Description fields.
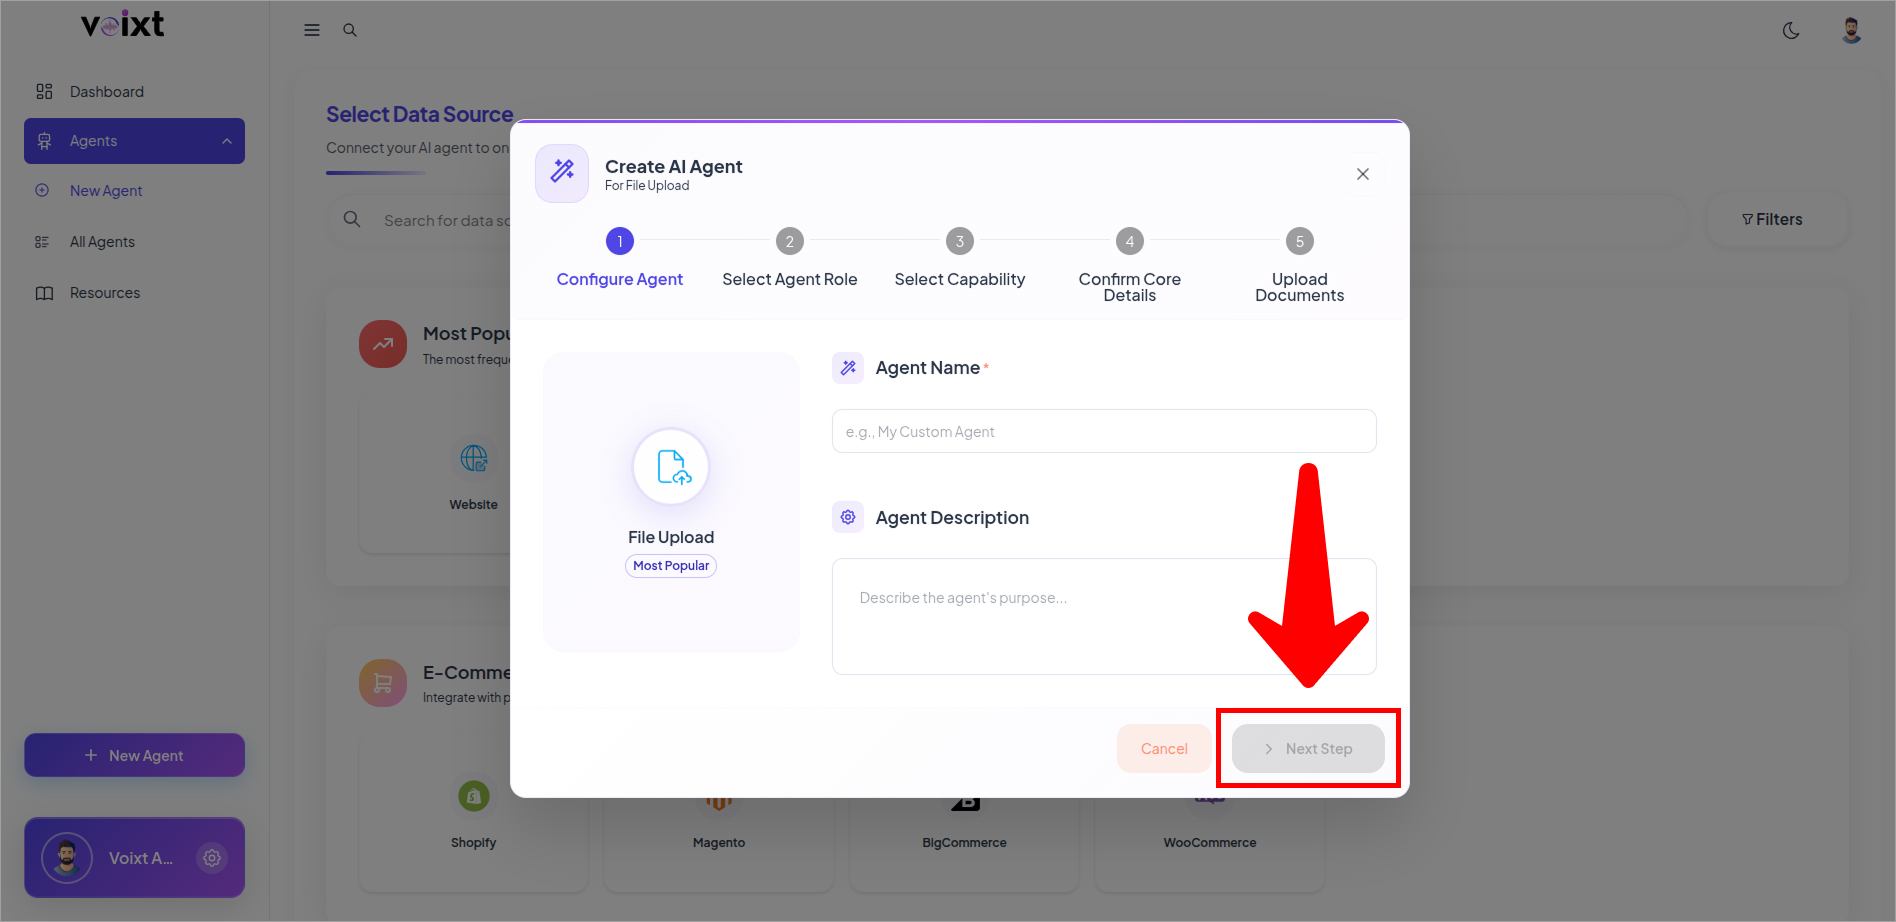
- Click on Next Step.
Define Role And behaviour
- Select roles you want to give to your agent.
- Product Knowledge Assitant
- Technical Pro
- HR Expert
- Customer Support Specialist
- Sales Expert These are some pre-defined roles.
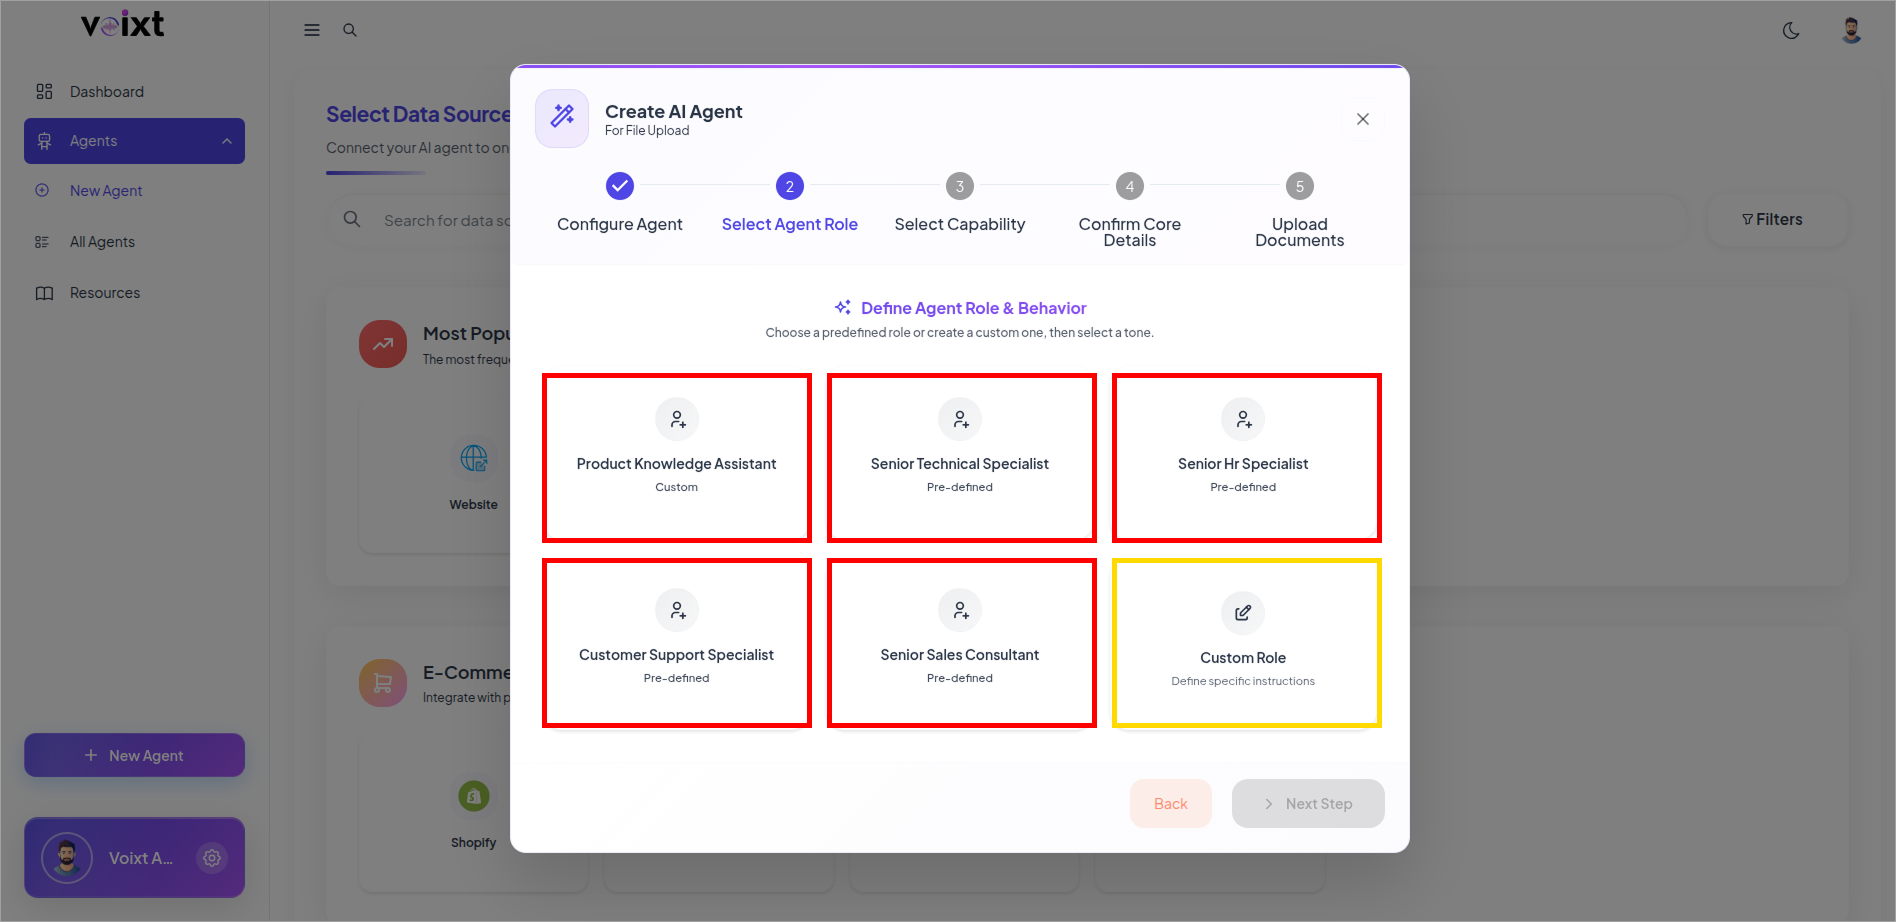
info
We also provide option to create Custom Role based on your need you can alo click on it and configure with Best Practices.
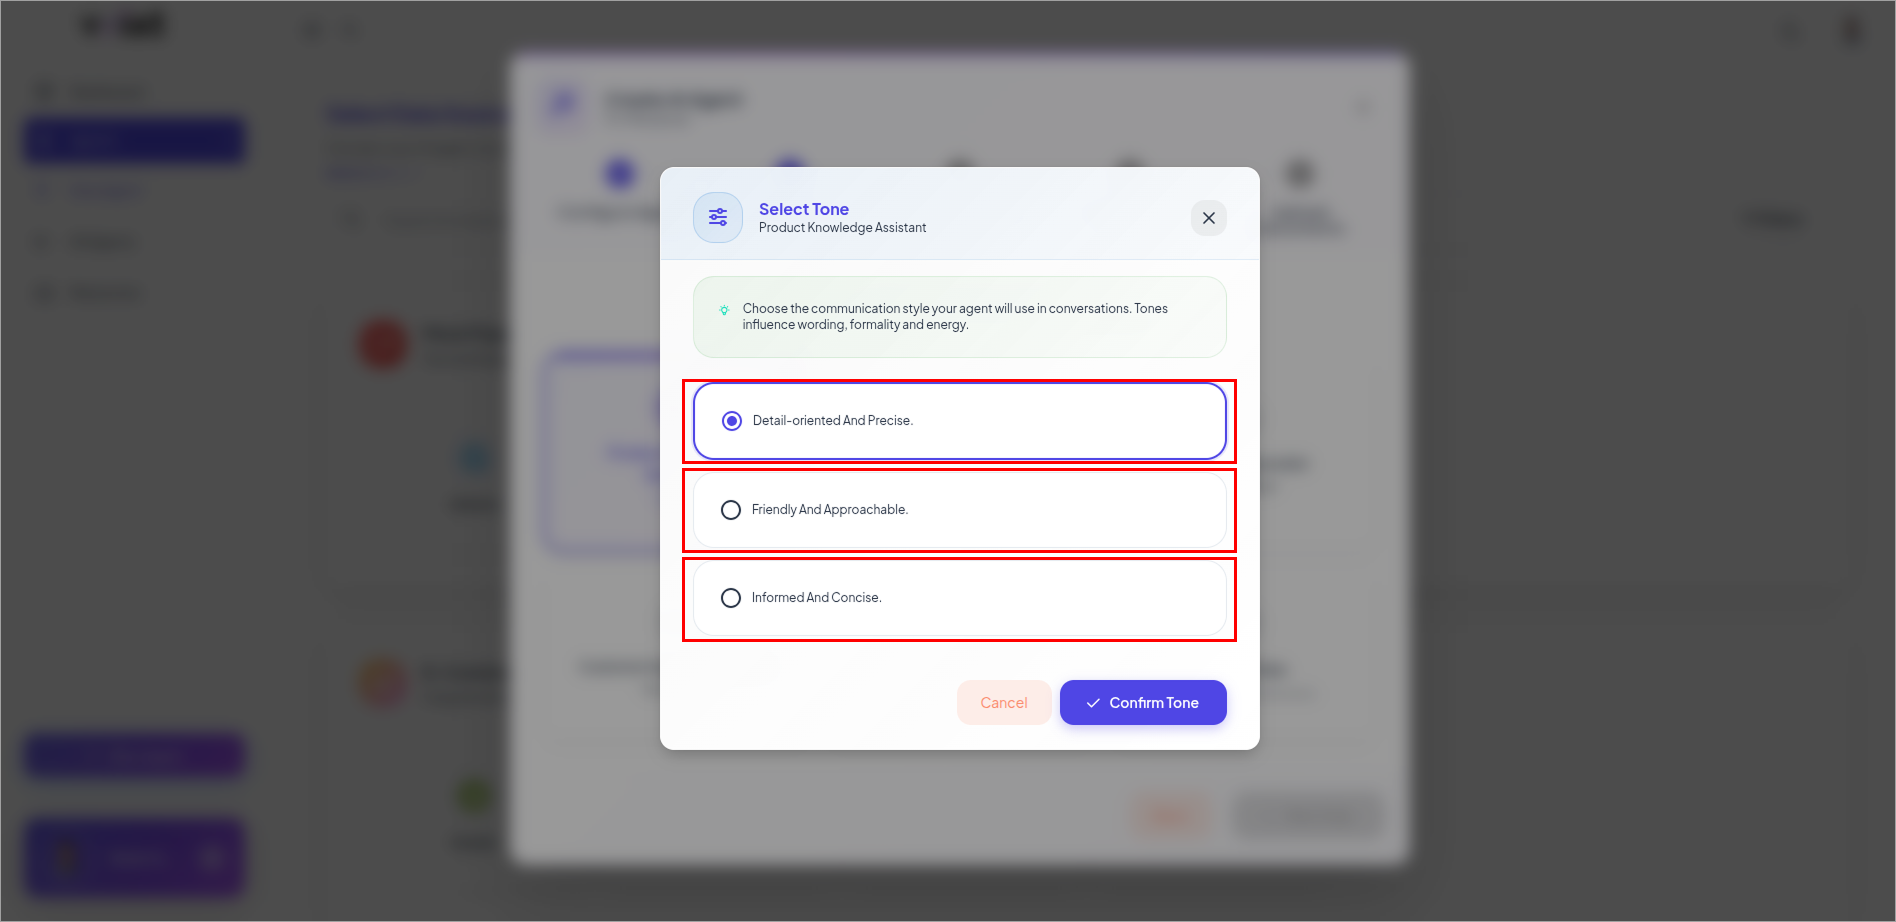
- Select tone of yor agent which decide how your agent communicate with you.
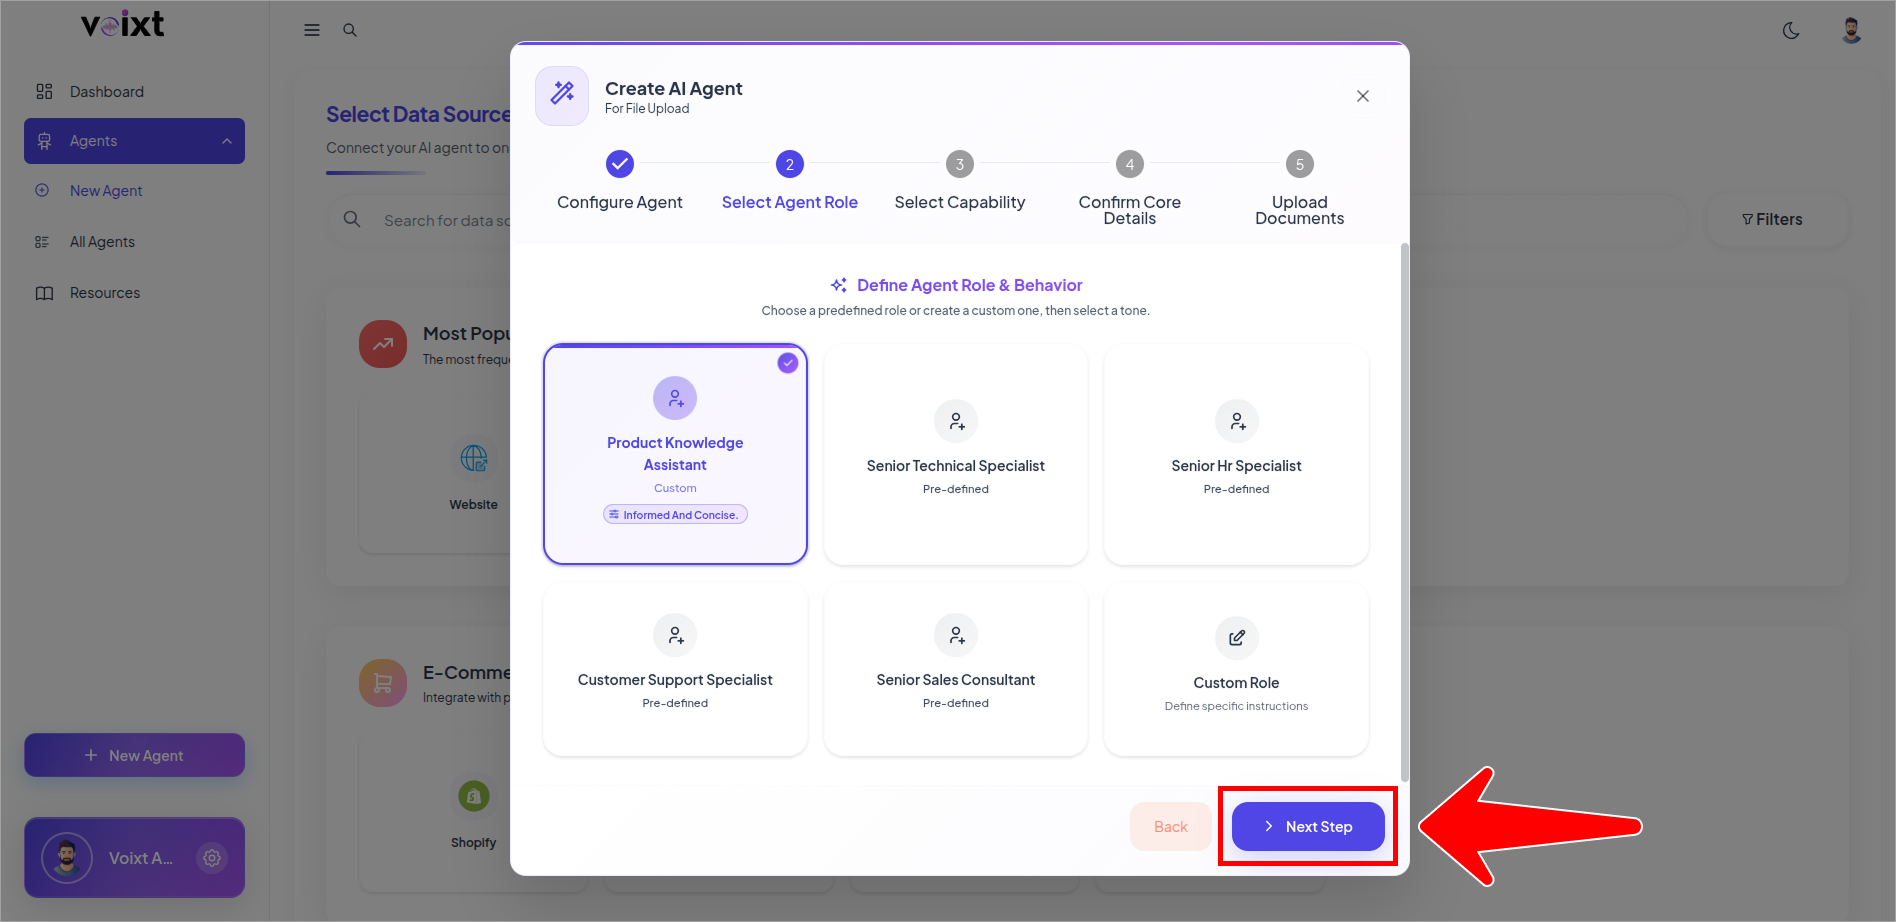
- Review the role andd behaviour and click on next step to continue.
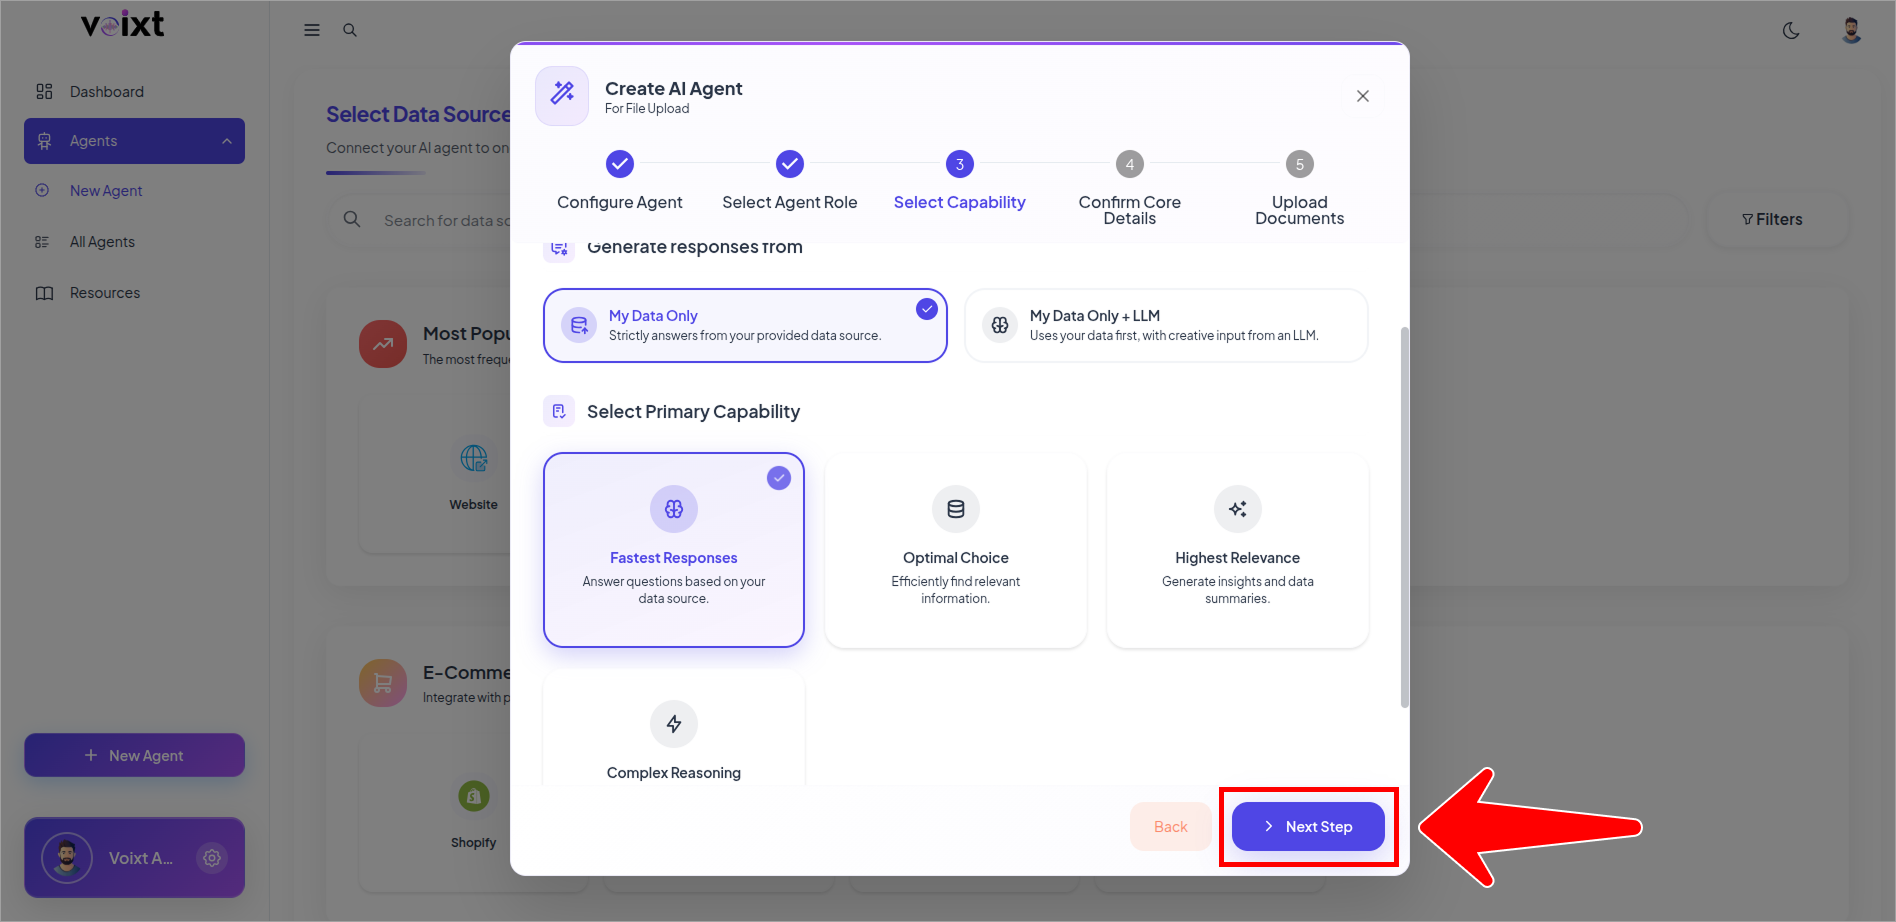
Select your Agent Response and Capability
- There are options we provide you to select your agent primary capability and response generated from
- Generate Response from Select My Data Only We recommend you to apply
- If you want your agent reply only from the resources you shared
- If you want exact response from your uploaded documents only
tip
If you want your agent respond from the LLM and the knowledge of your data as well means knows everything of the Data model plus your documents or knowledge base.
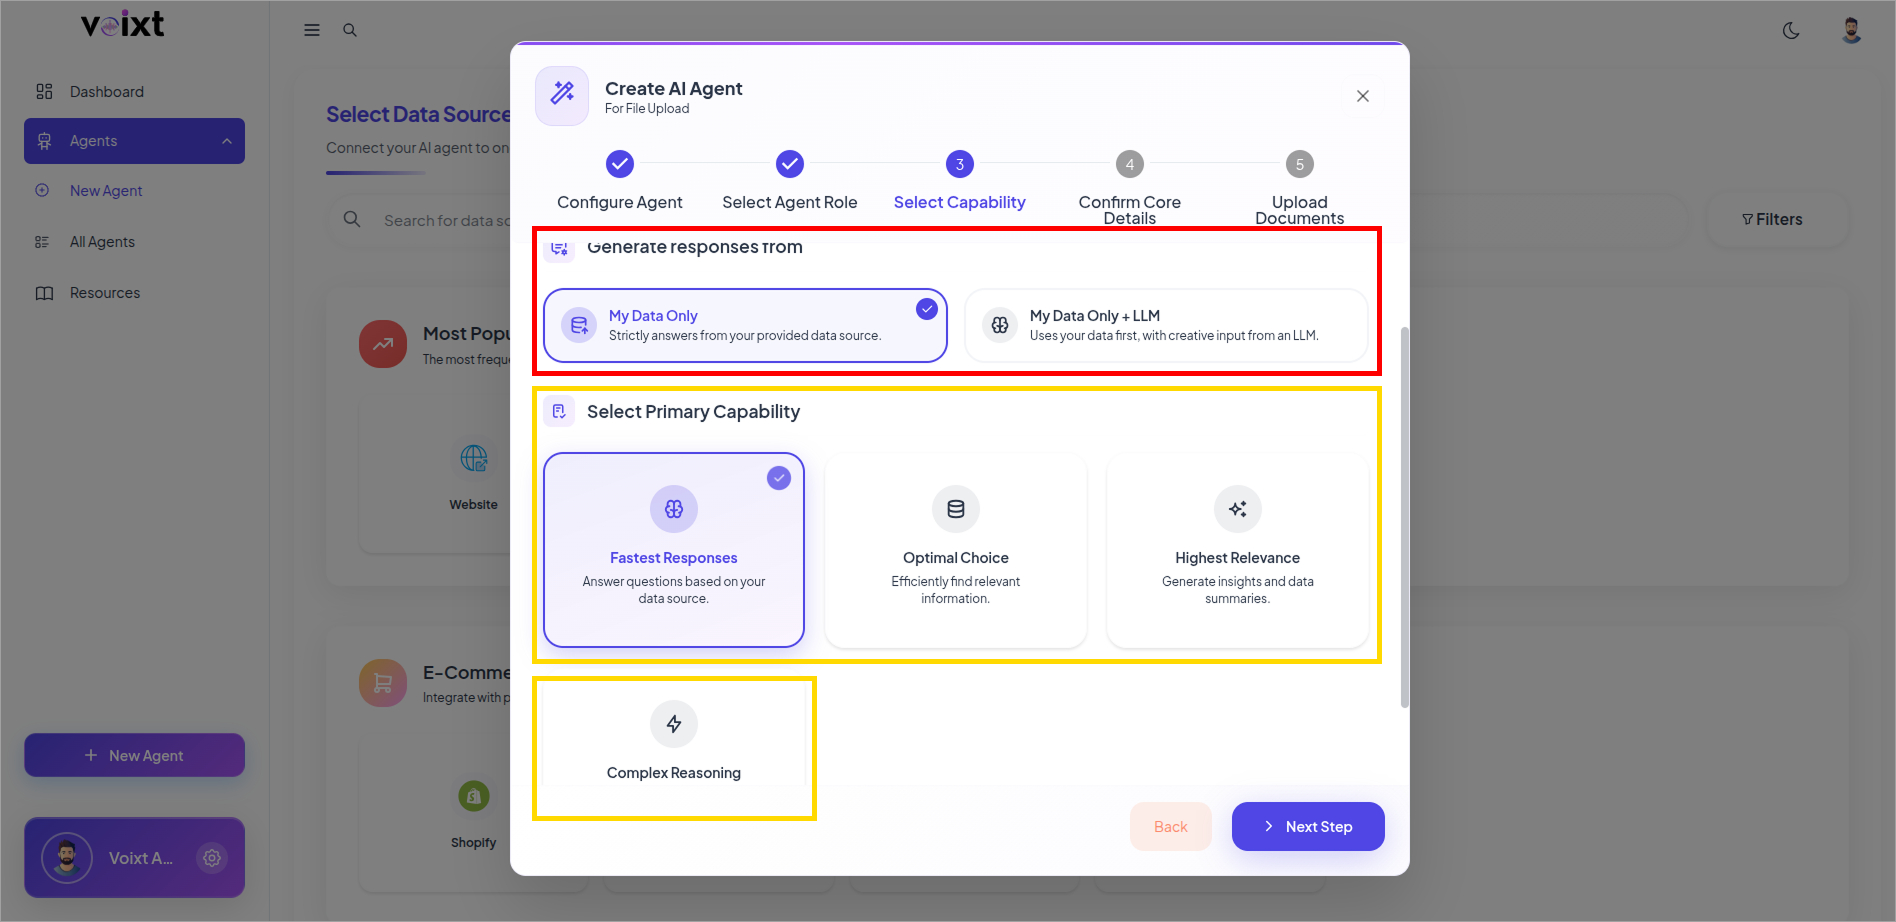
- Select Primary Capabiliy of your agent
- Fastest Response
- Optimal Choice
- Highest Relevance
- Complex Reasoning
- Click on Next step to continue.
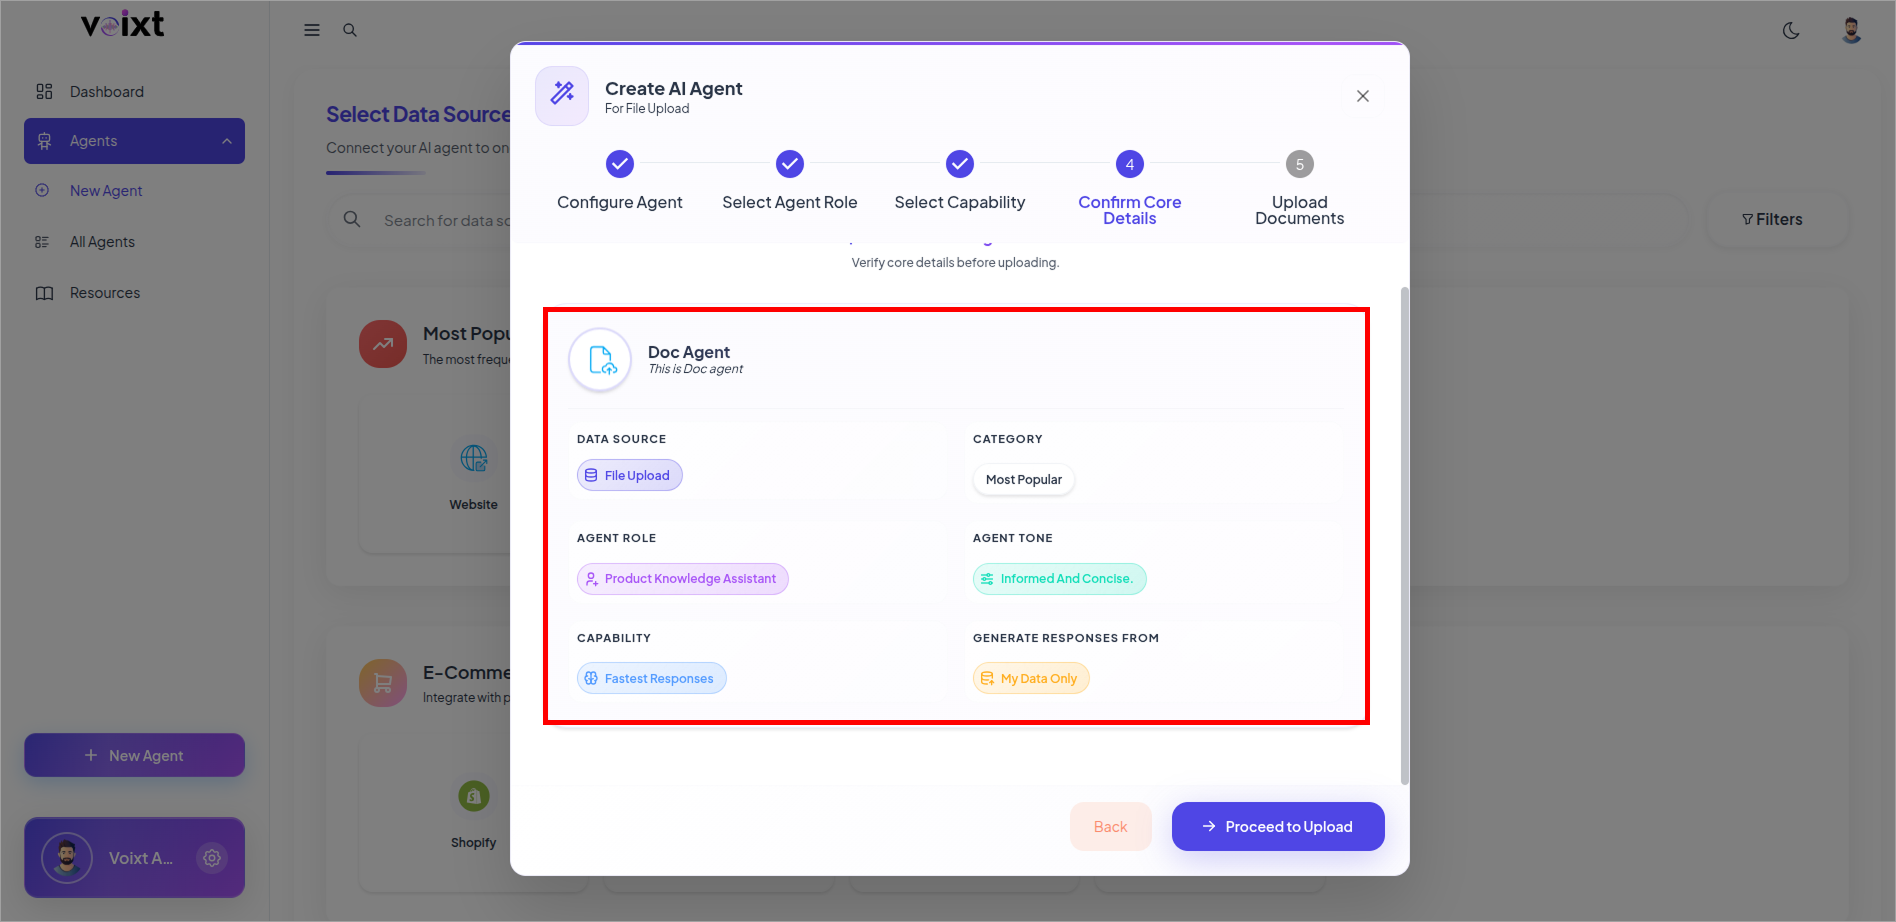
Review your Agent
- Review the details you fill, if want to change click on Back and follow above steps again.
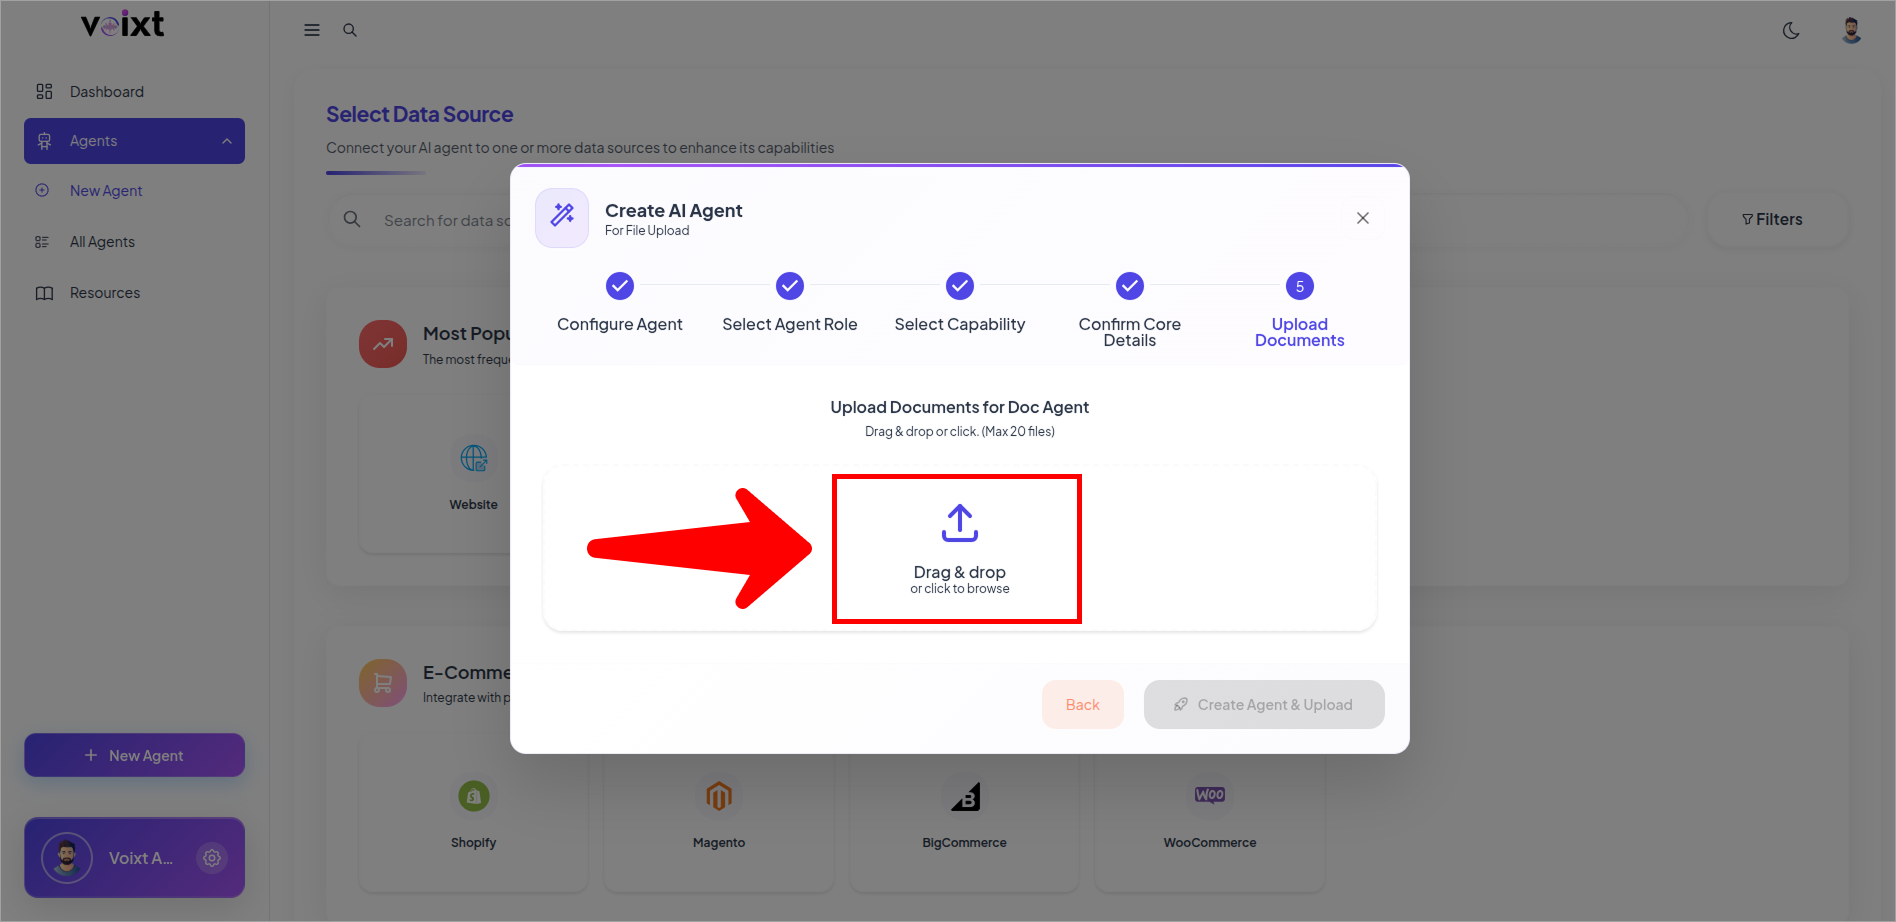
Upload files for your Agent
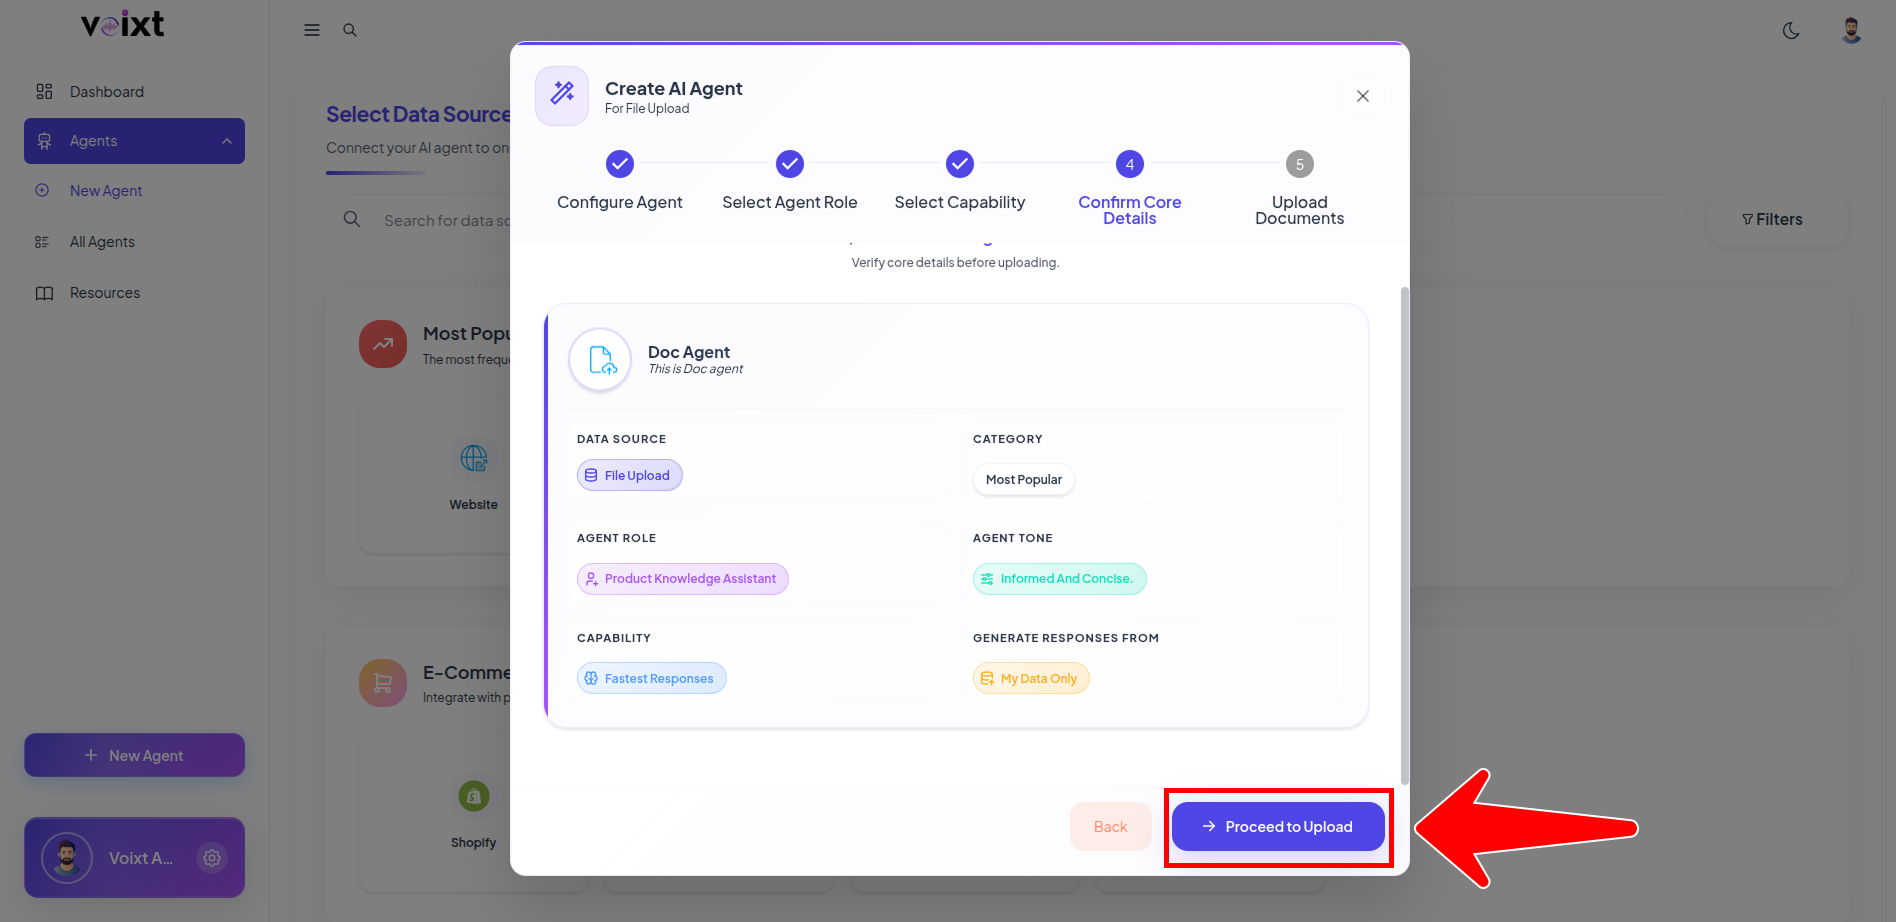
-
Click on Proceed to Upload to move further process.
-
Click to browse and select to upload or drag and drop.
- Review the files you uploaded.
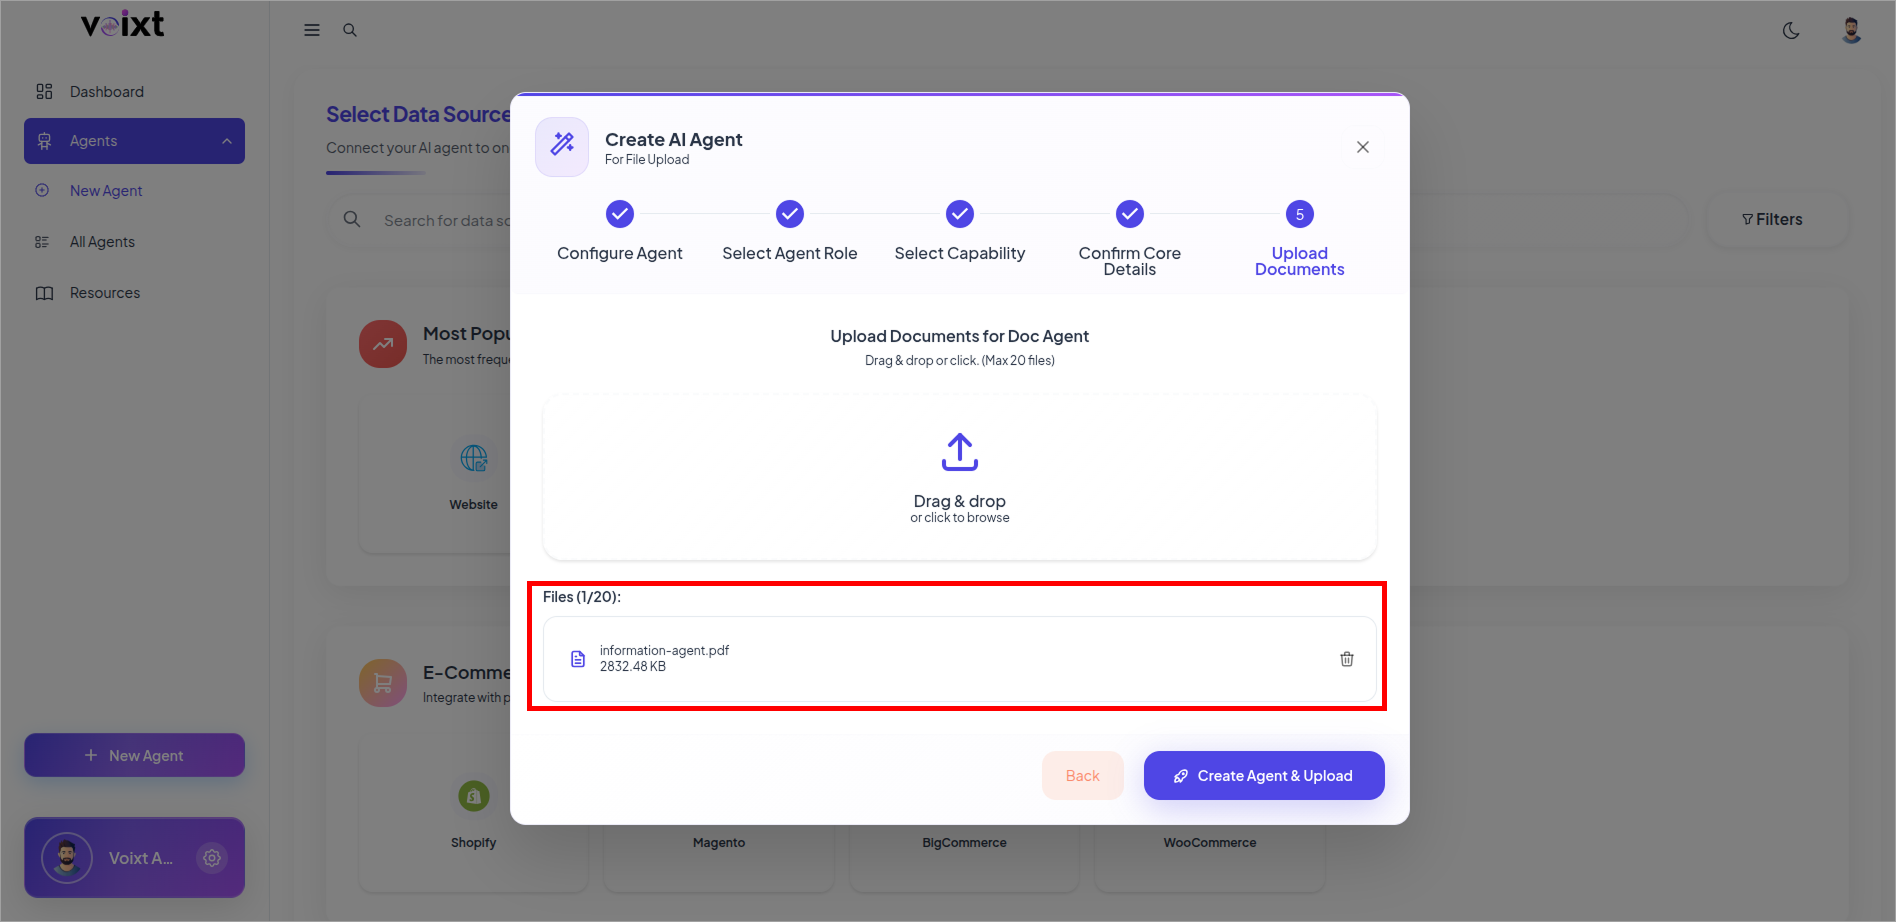
you can upload maximum 20 files
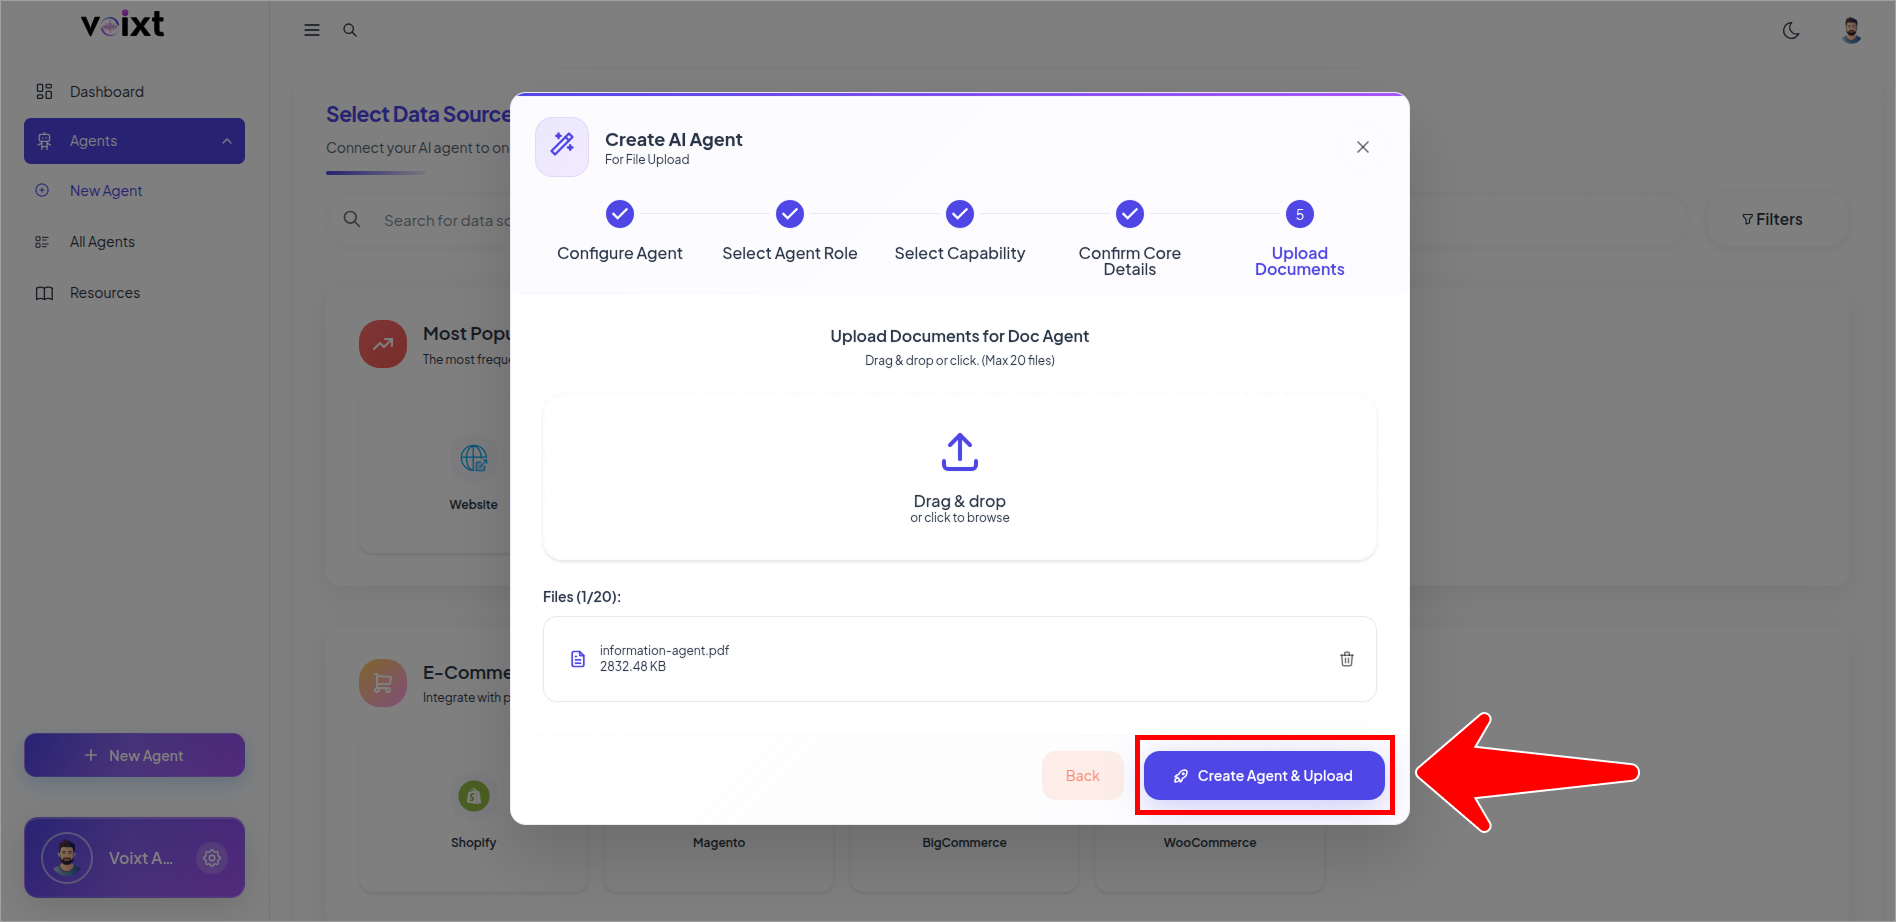
- Click on Create Agent and upload which redirects you to the documents page.
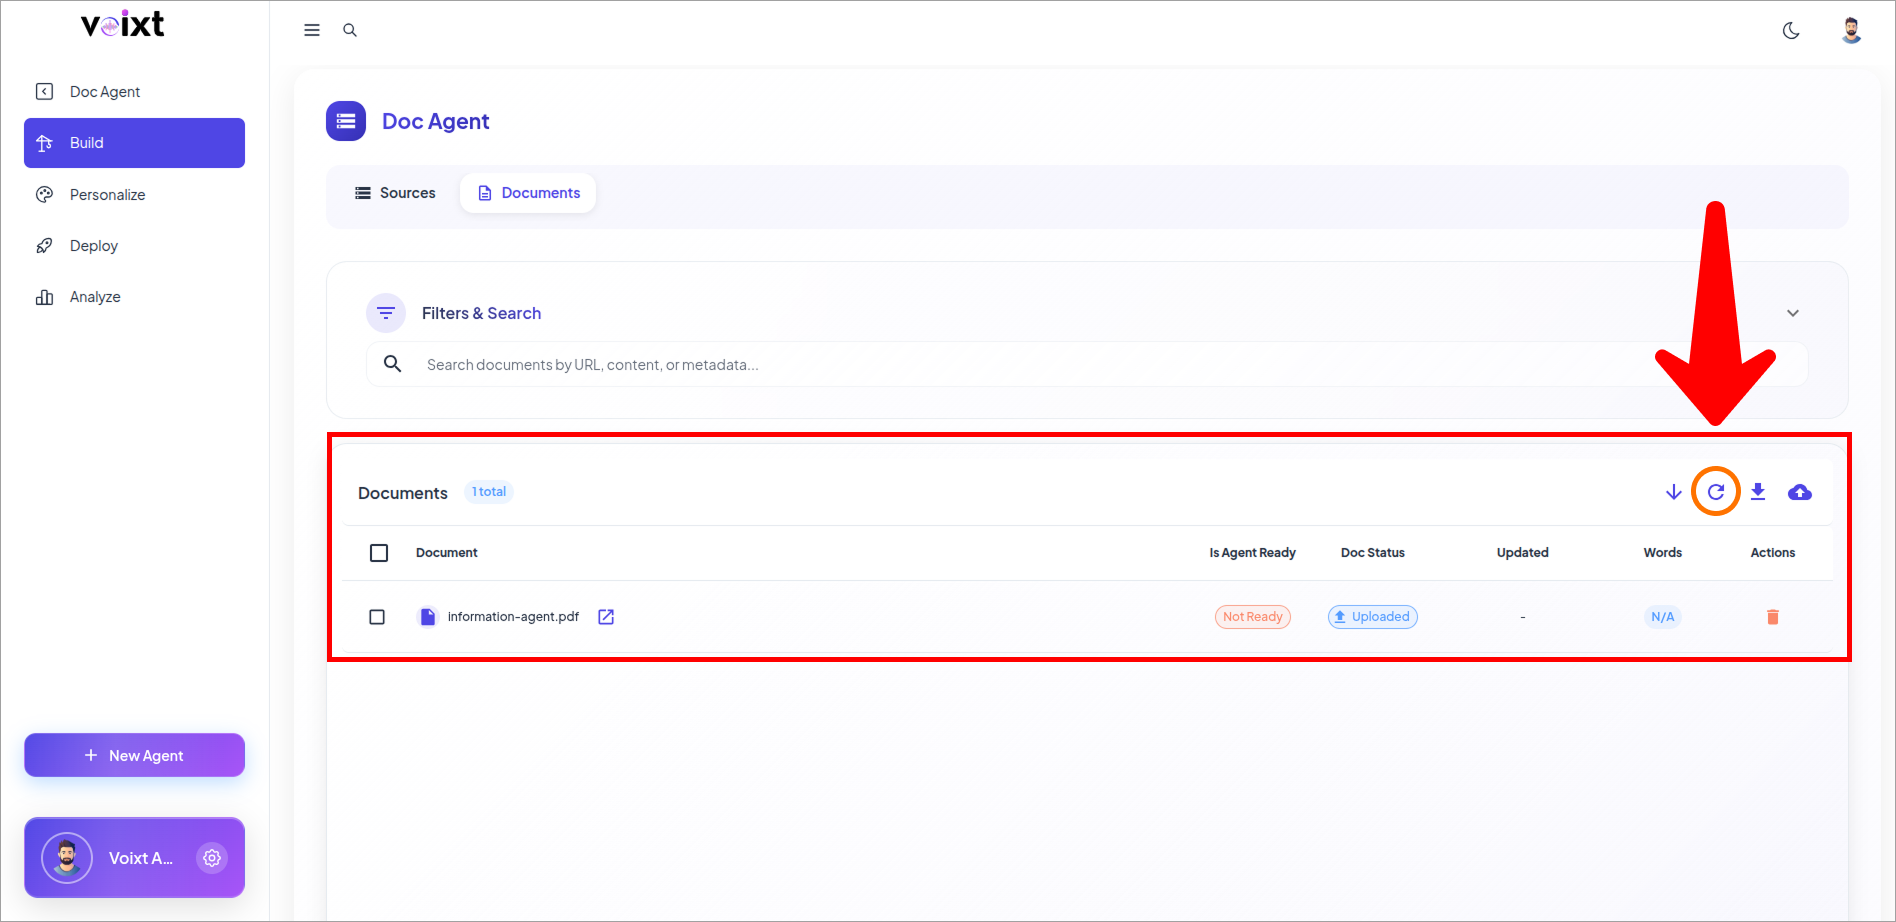
- Here, you can review the documents you uploaded, and click on refresh to check Doc status, Is Agent Ready.
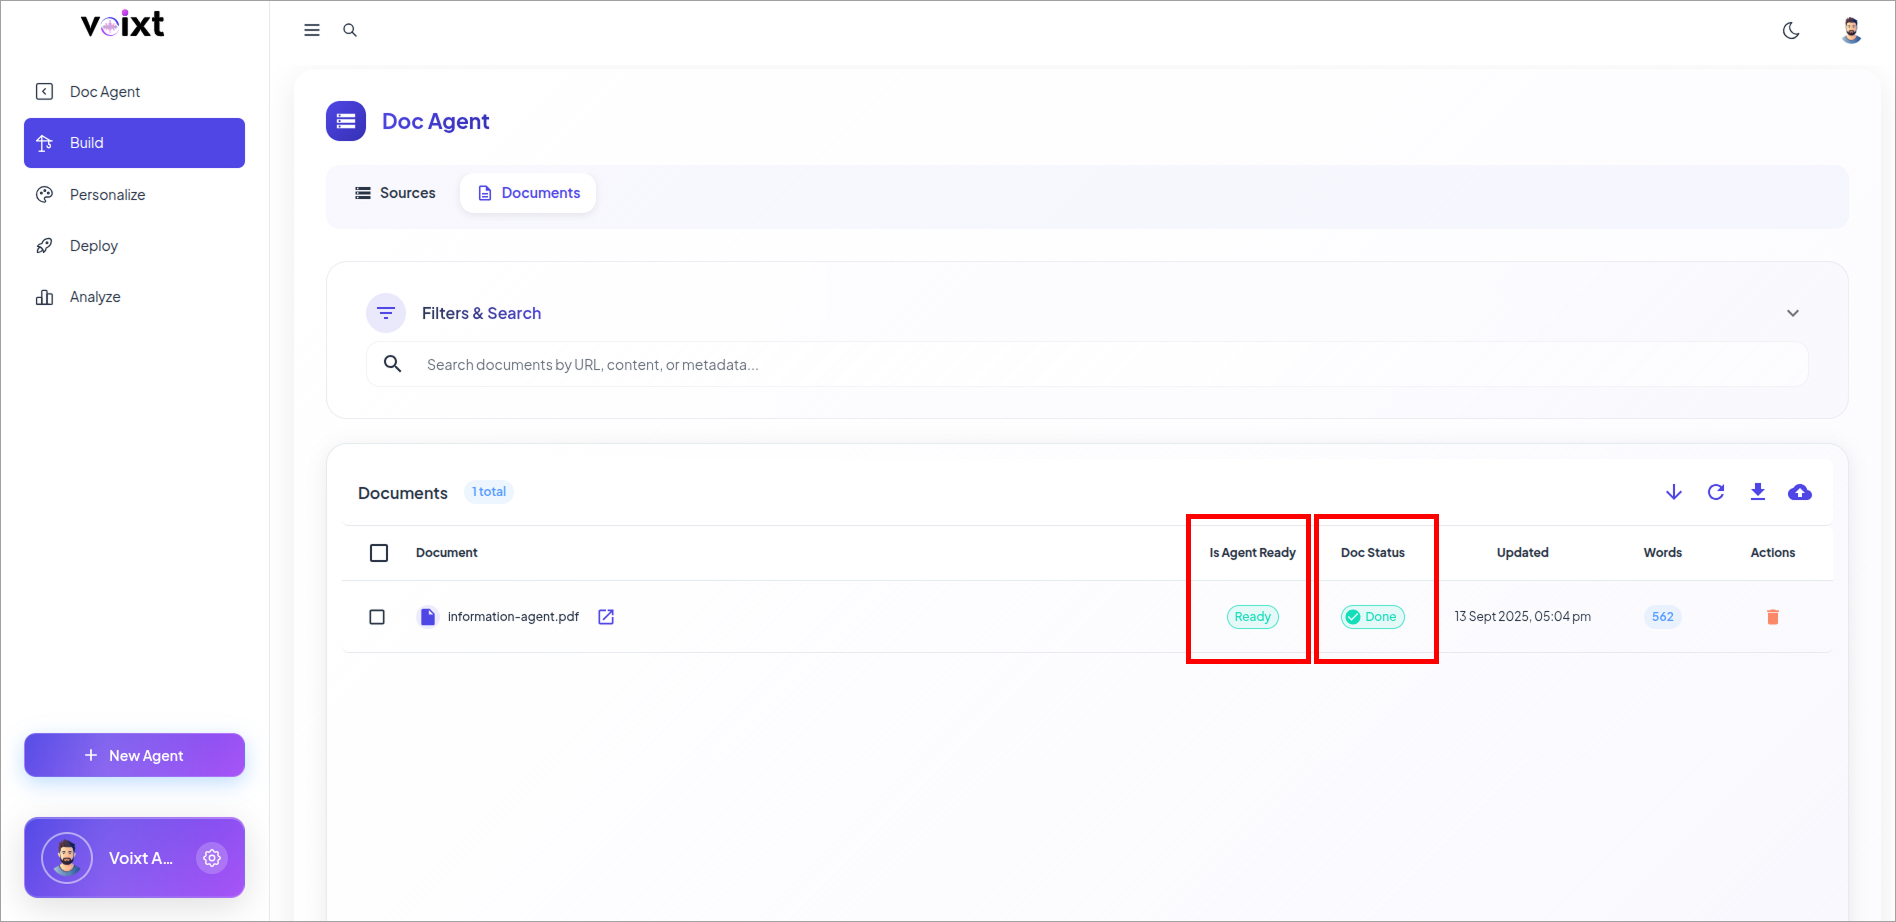
- Once your DocStatus is ready and Agent is also ready then your agent and your agent's knowledge base is ready to communicate.
info
Follow this Guide to Learn more about Ask you Agent